

What you will need
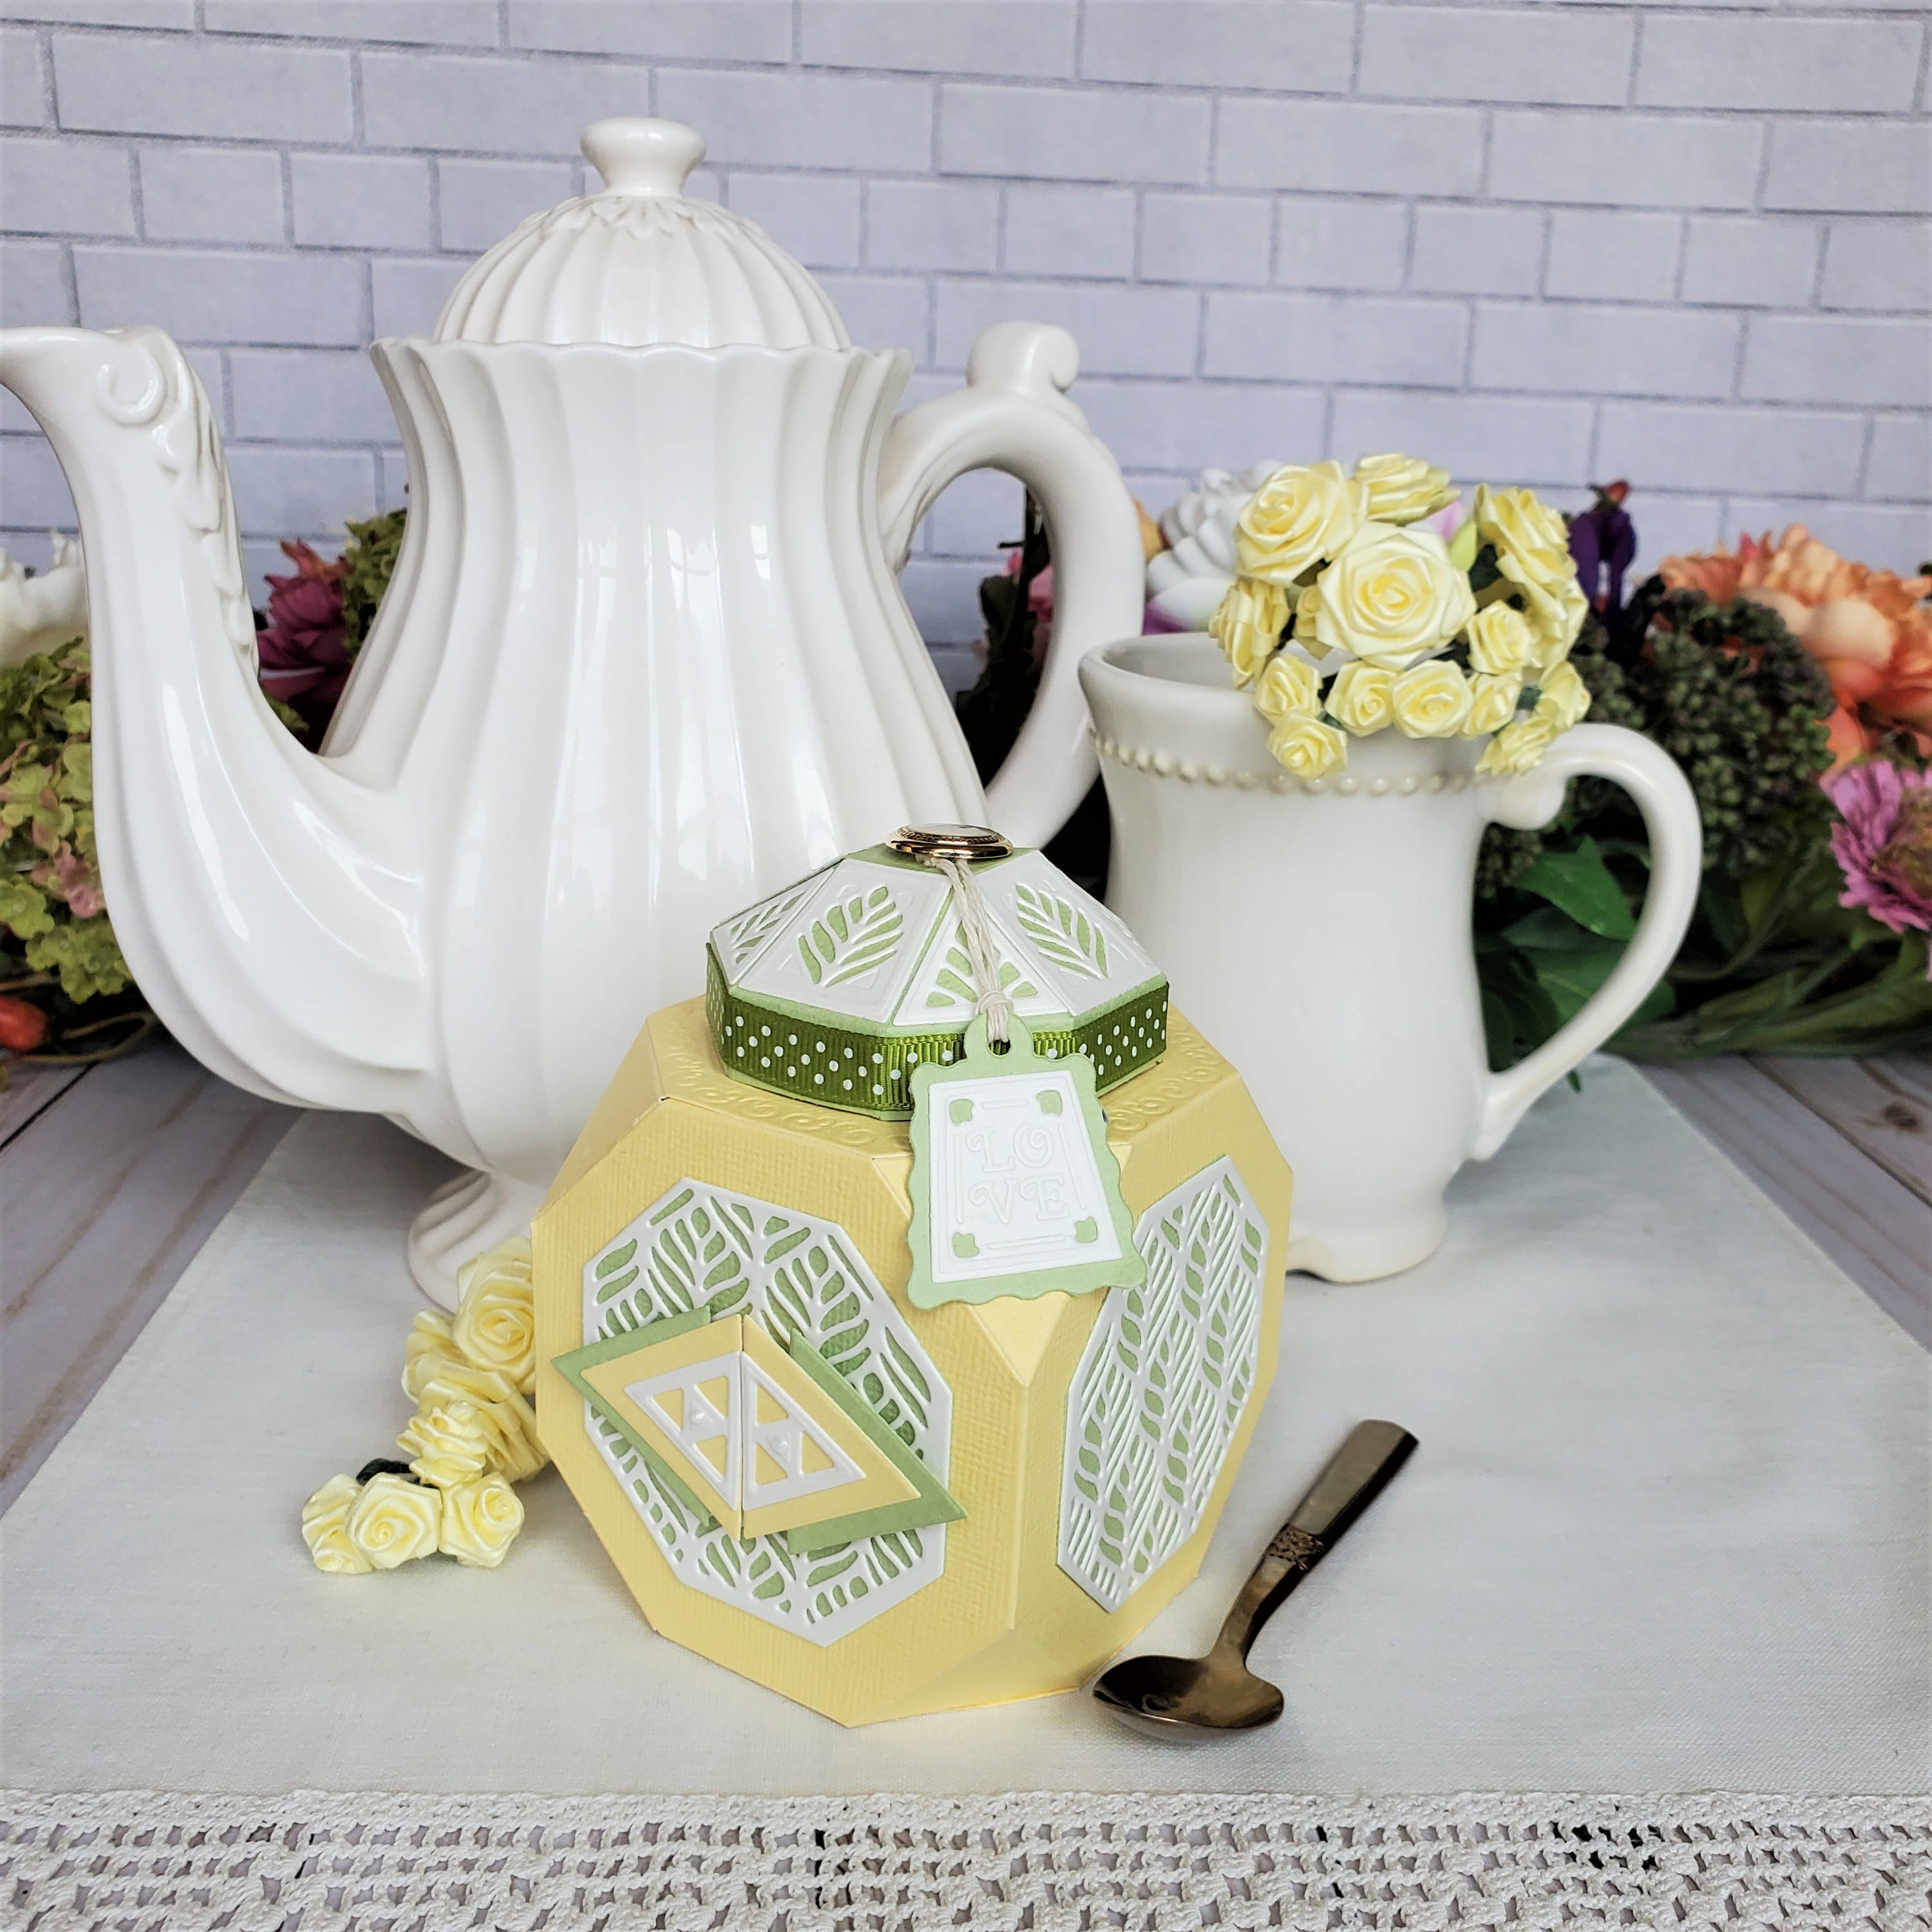
- Timeless Tea Jar Die set
- Buttermilk Yellow Craft Perfect card stock
- Pistachio Green Craft Perfect card stock
- Ivory Craft Perfect card stock
- Nuvo Deluxe Adhesive
- Baker’s twine, about 6 inches
- Shank button
- Grosgrain ribbon (optional)
Step 1
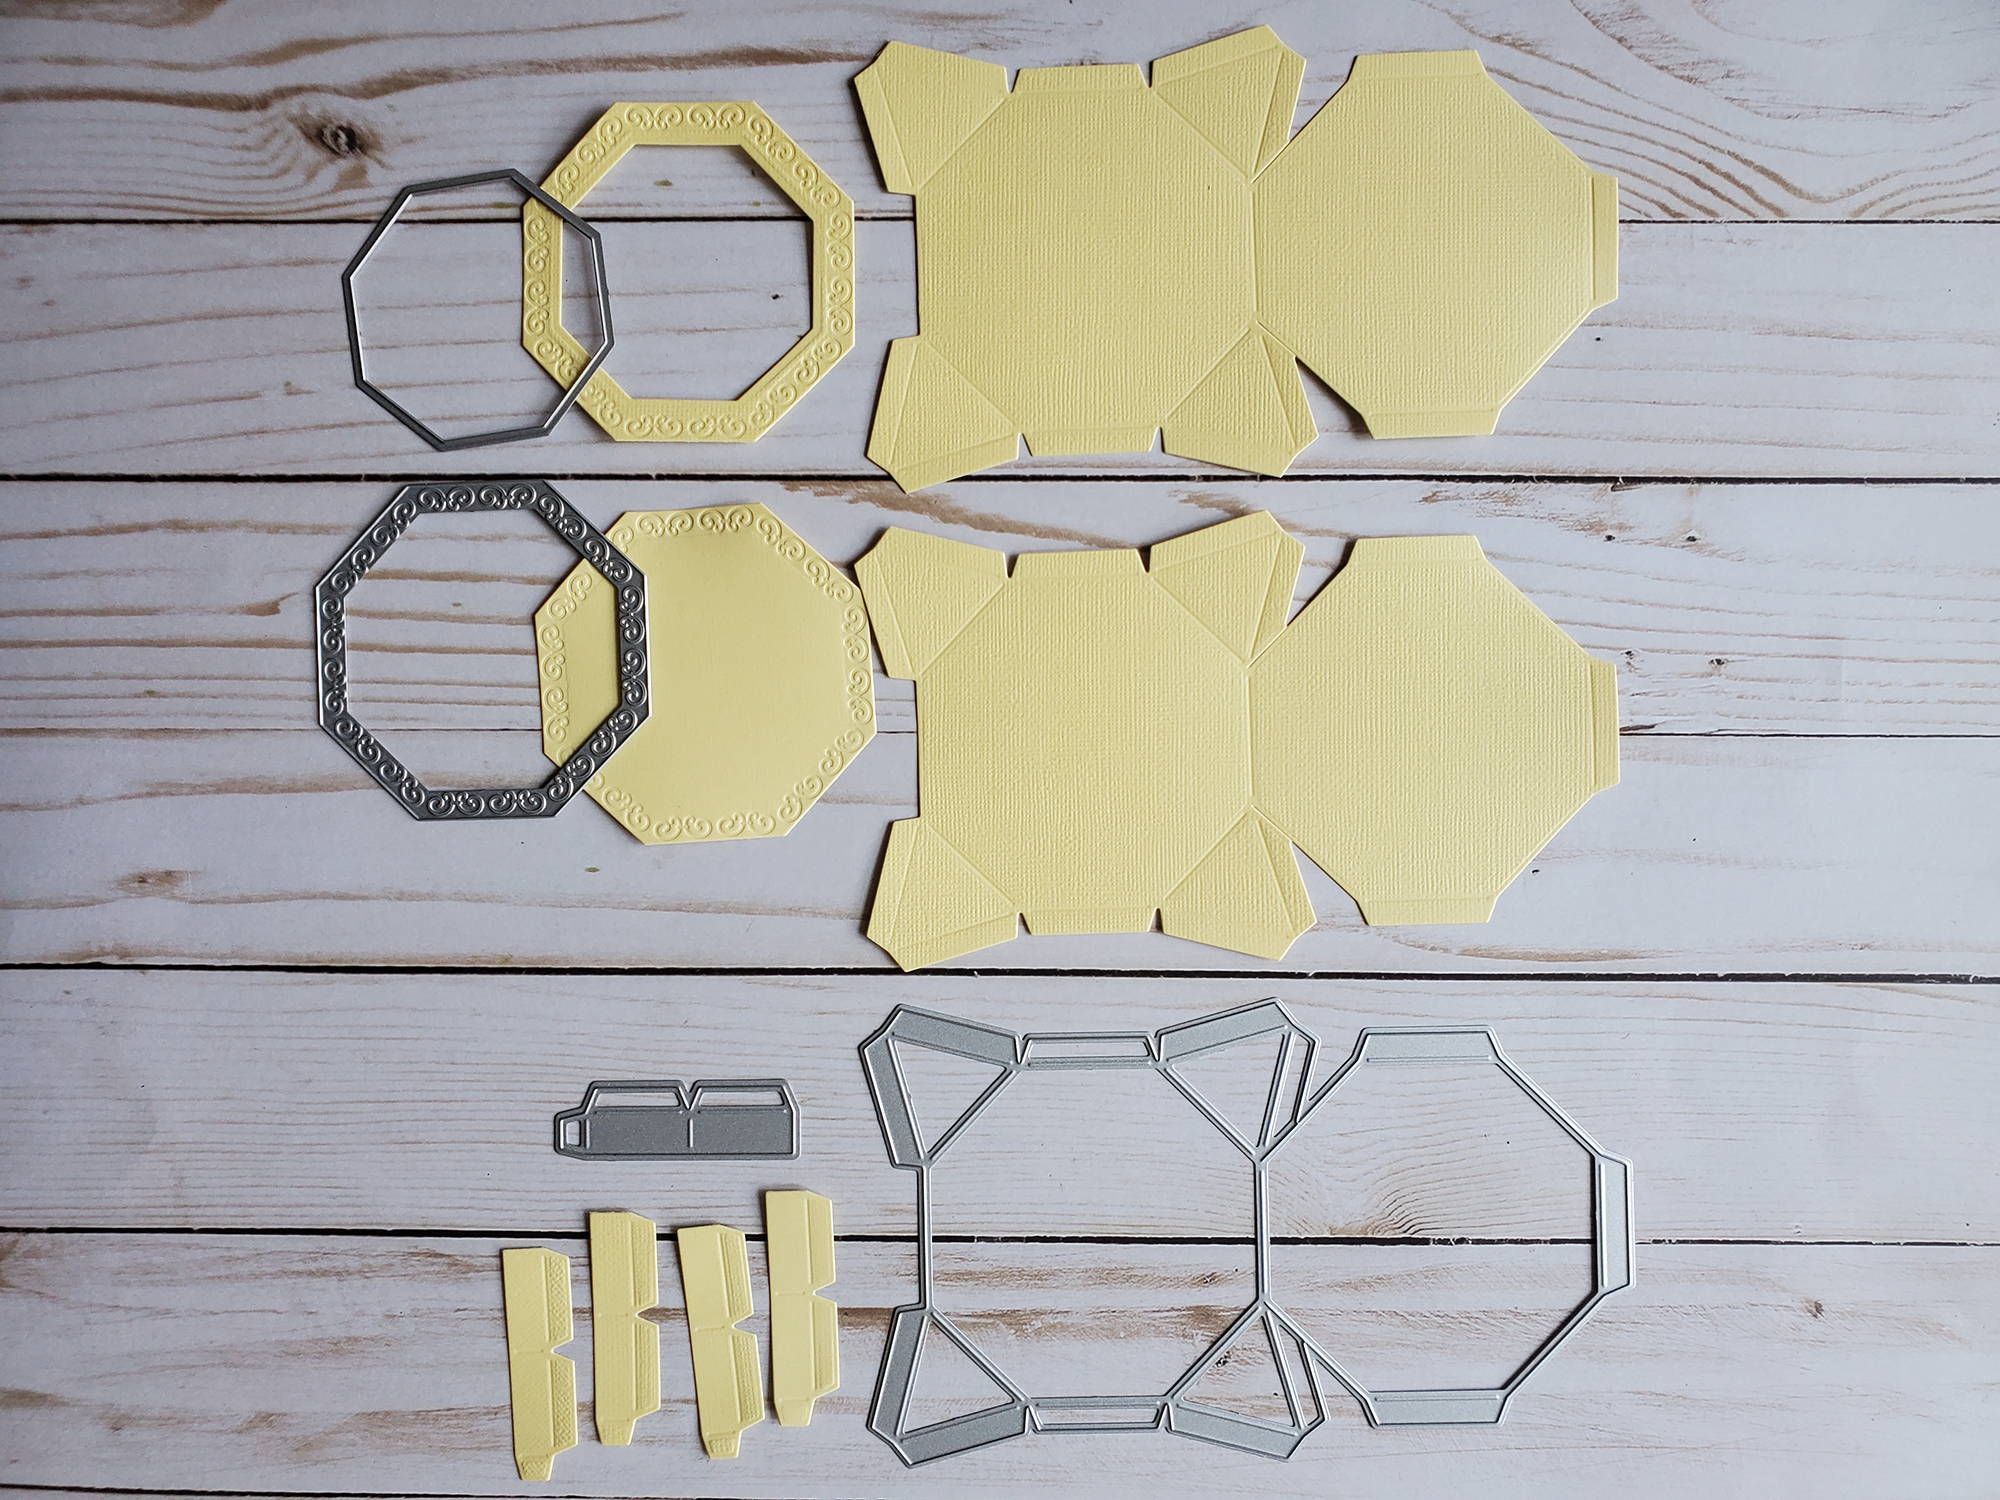
In Buttermilk Yellow card stock, cut two of the smaller sized main dies, one jar octagonal bottom, one upper rim (by cutting one octagonal bottom with a smaller octagonal die inside), and four of the small lid lip sections.
Step 2
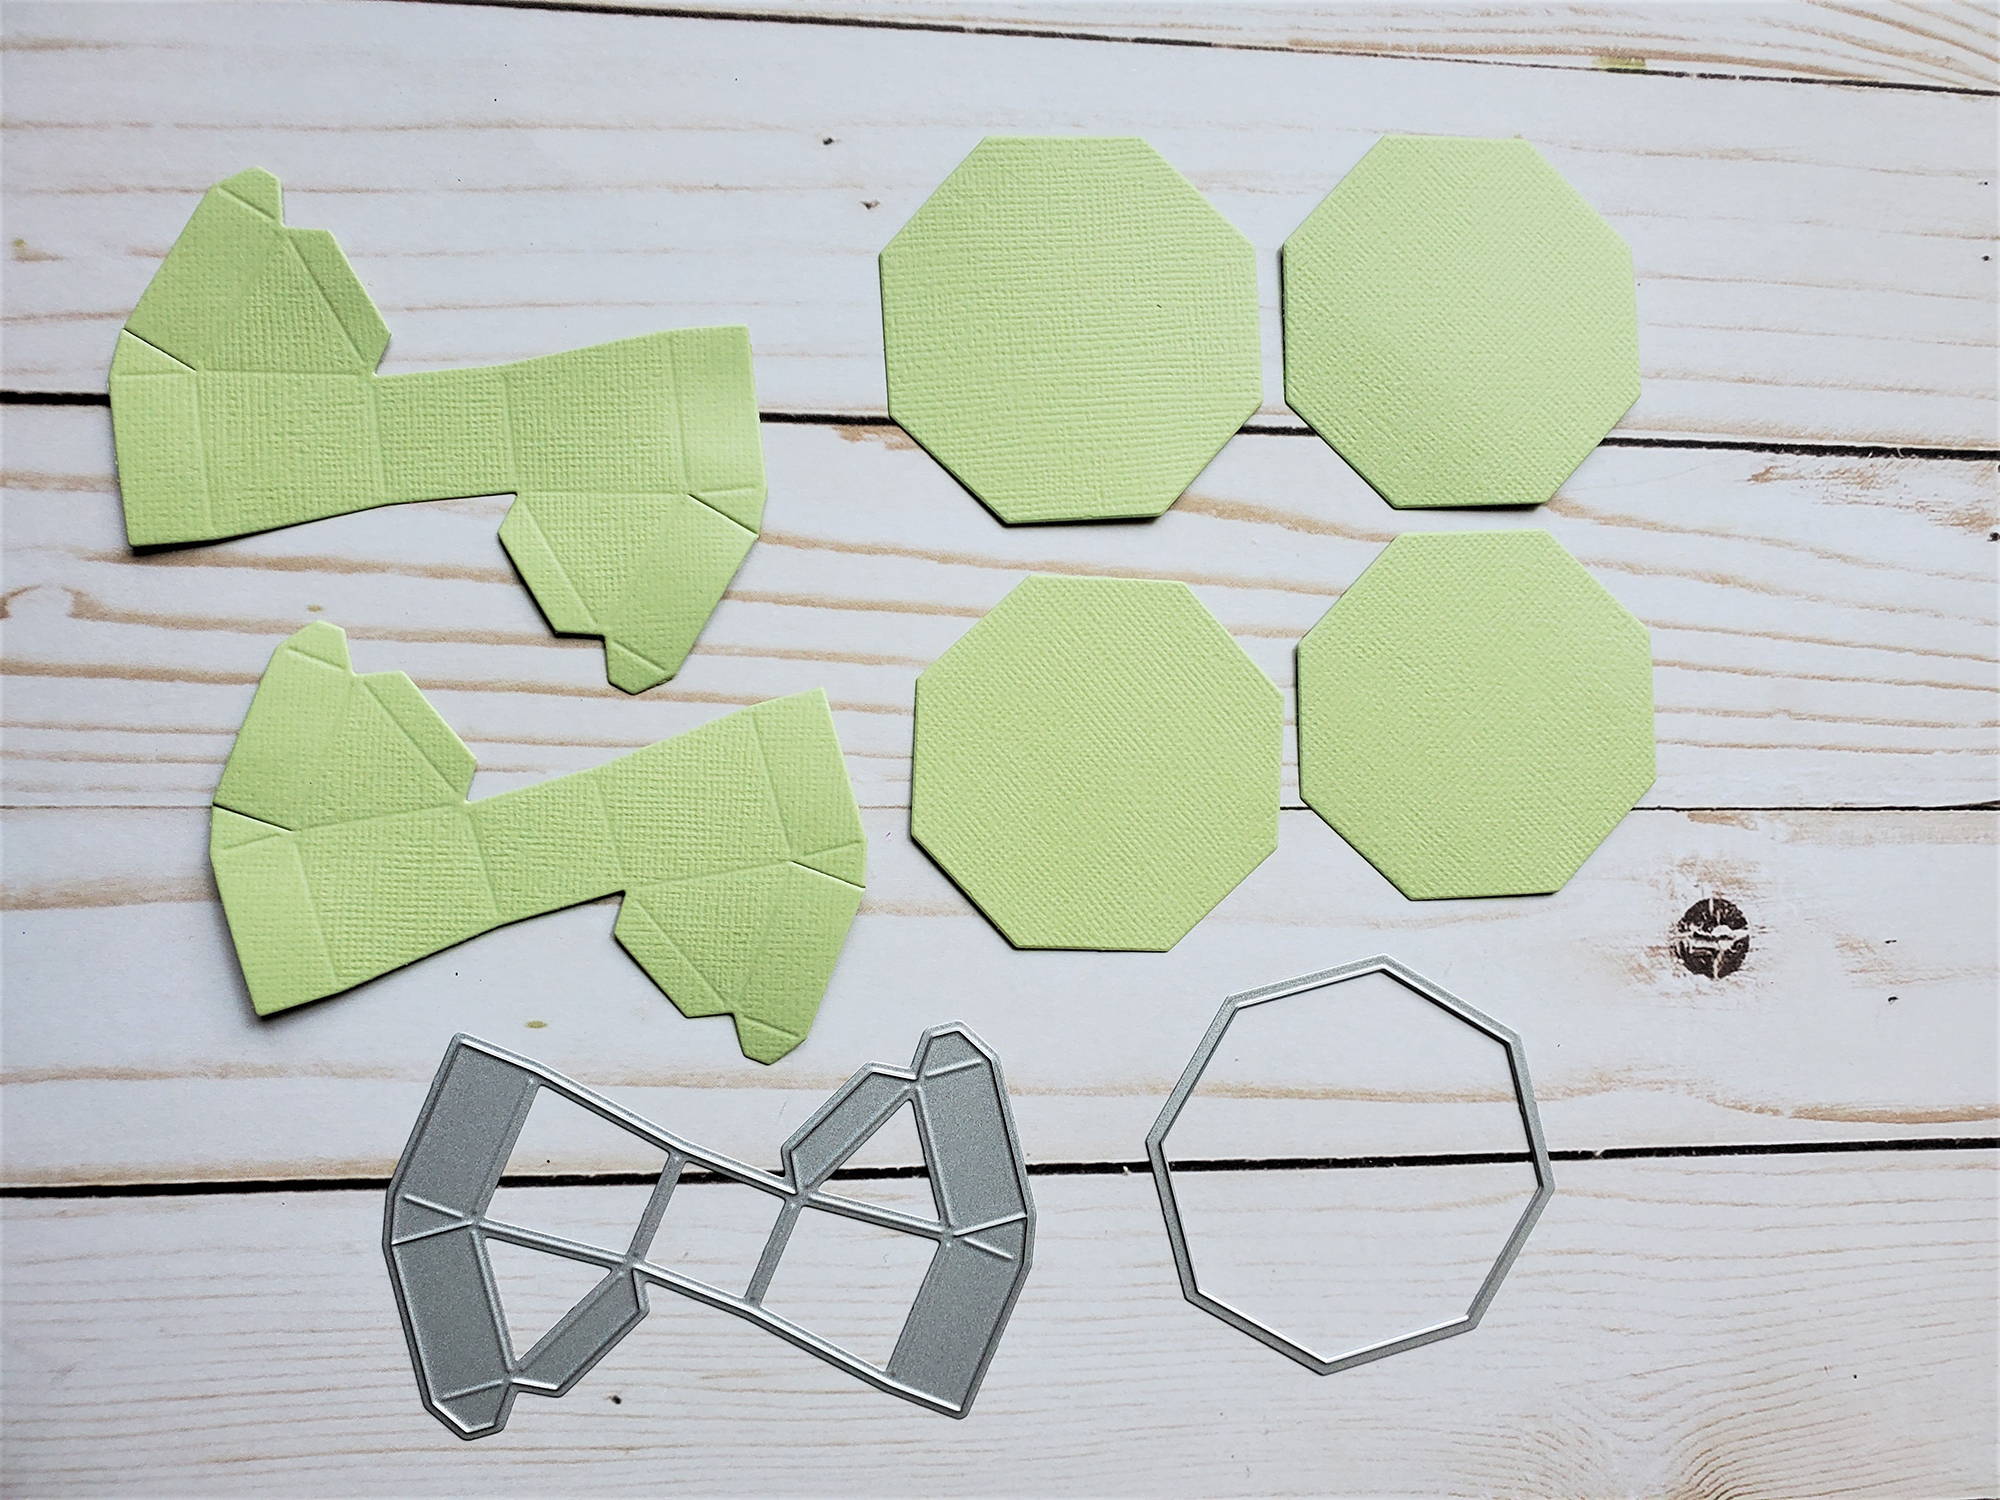
In Pistachio Green, cut two of the lid sections and four plain octagonal pieces.
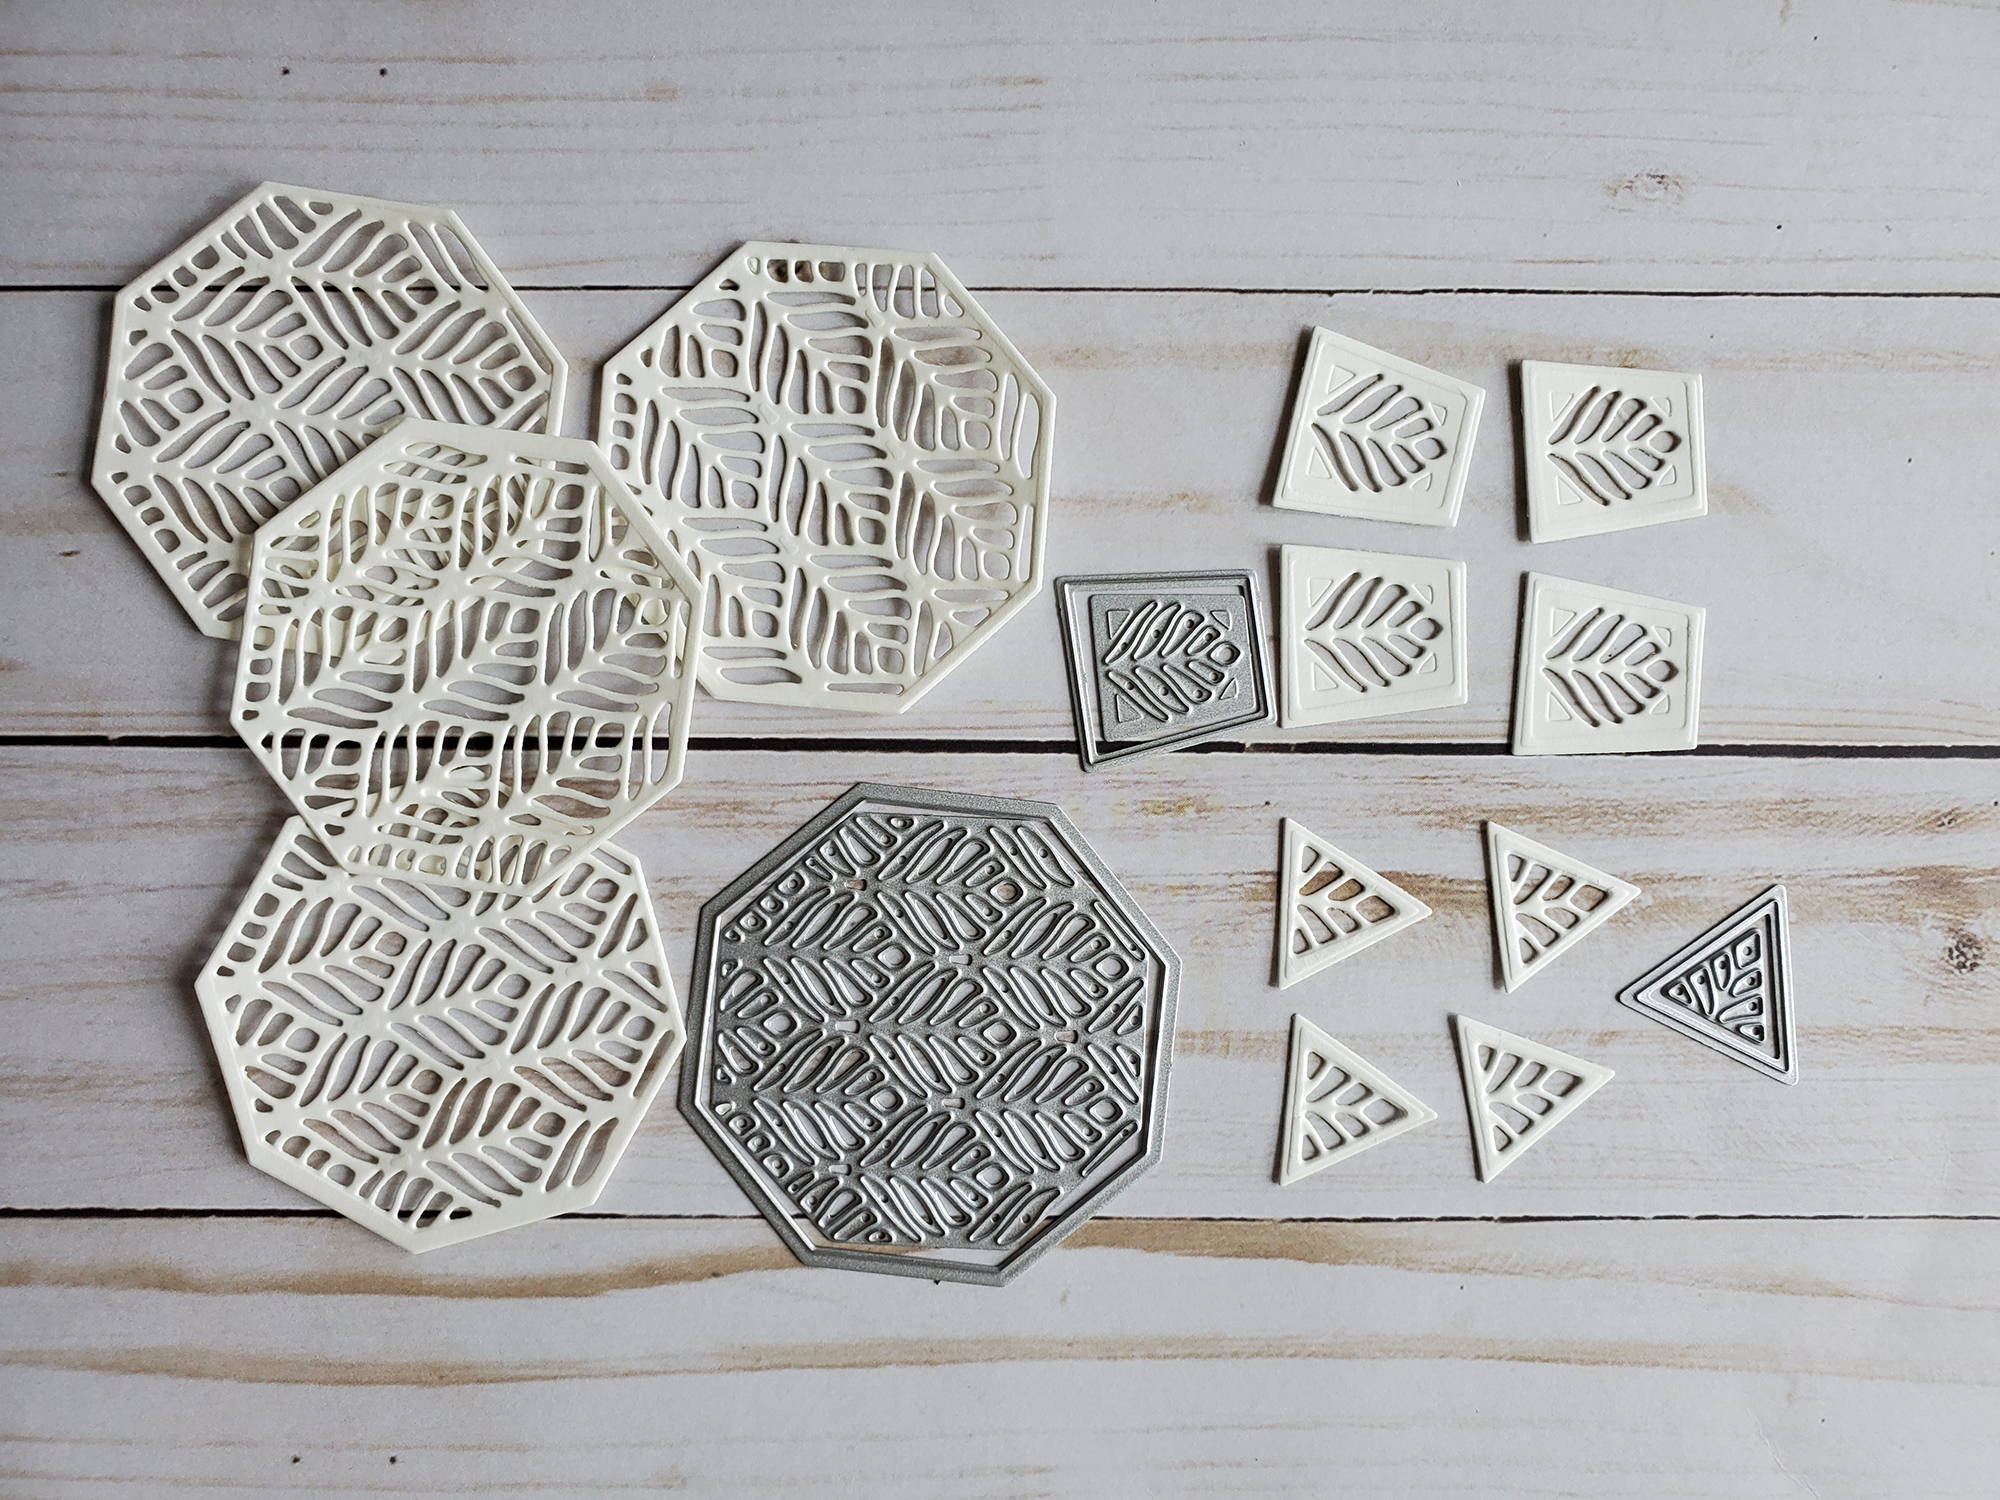
In Ivory, cut four leafy decorative octagons, four leafy trapezoid pieces (small ones with slanted sides), and four leafy triangles.
Step 3
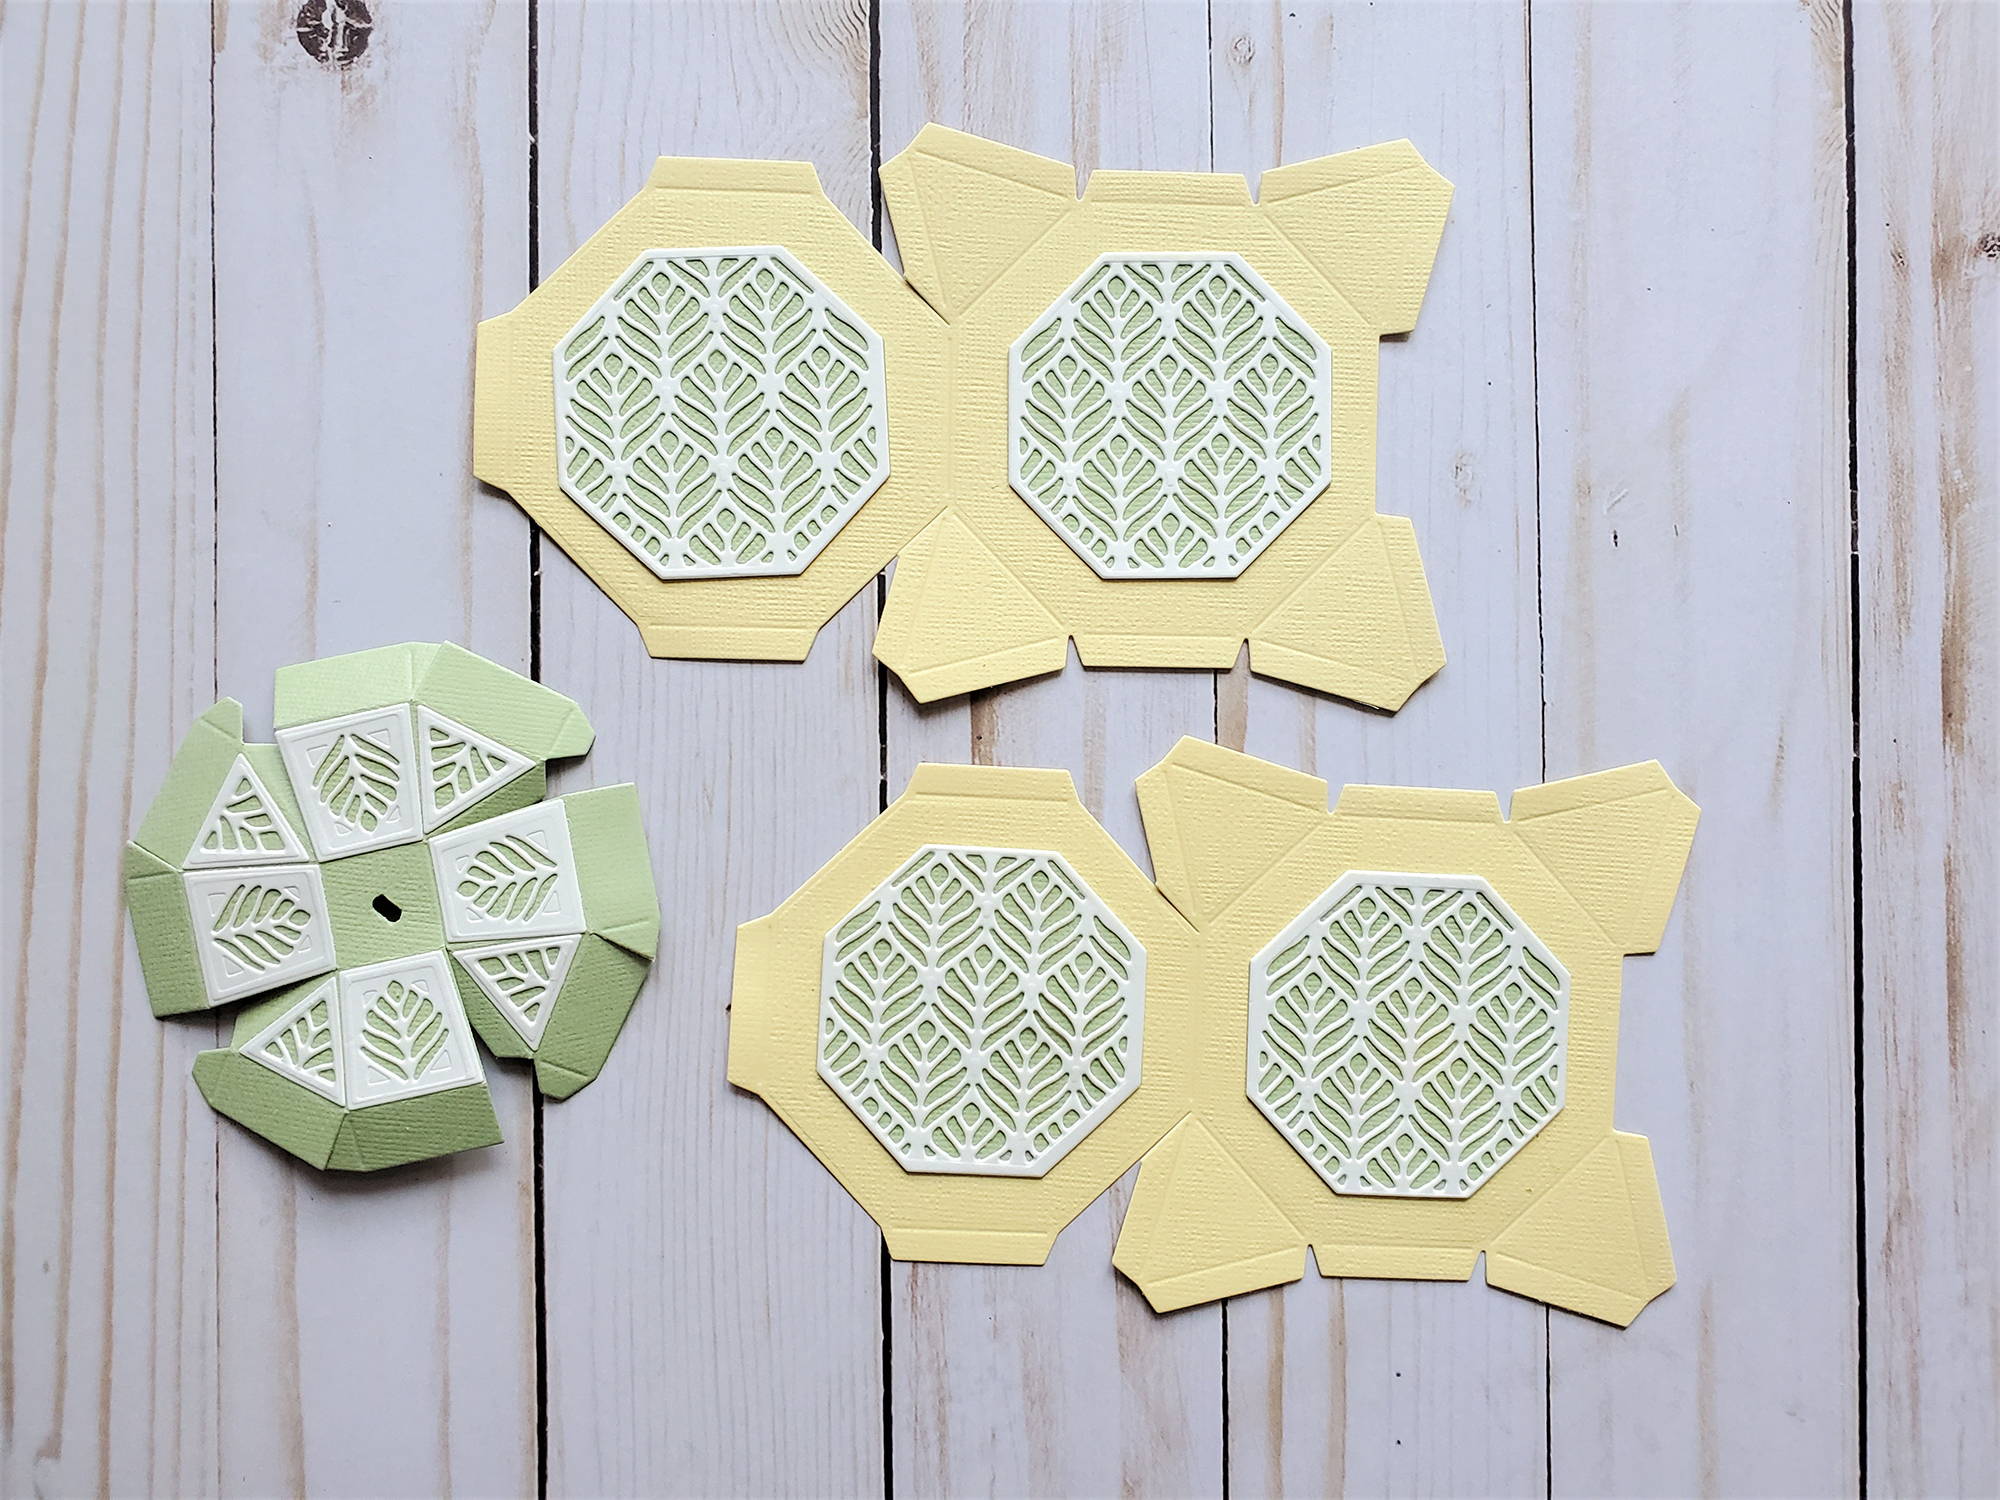
Glue the white decorative octagons to the solid green octagons, and glue those to the four large centers in the main jar pieces. Glue the small ivory triangles & trapezoids to the matching sections on the lid pieces, and glue the two lid pieces together in the centers.
Step 4
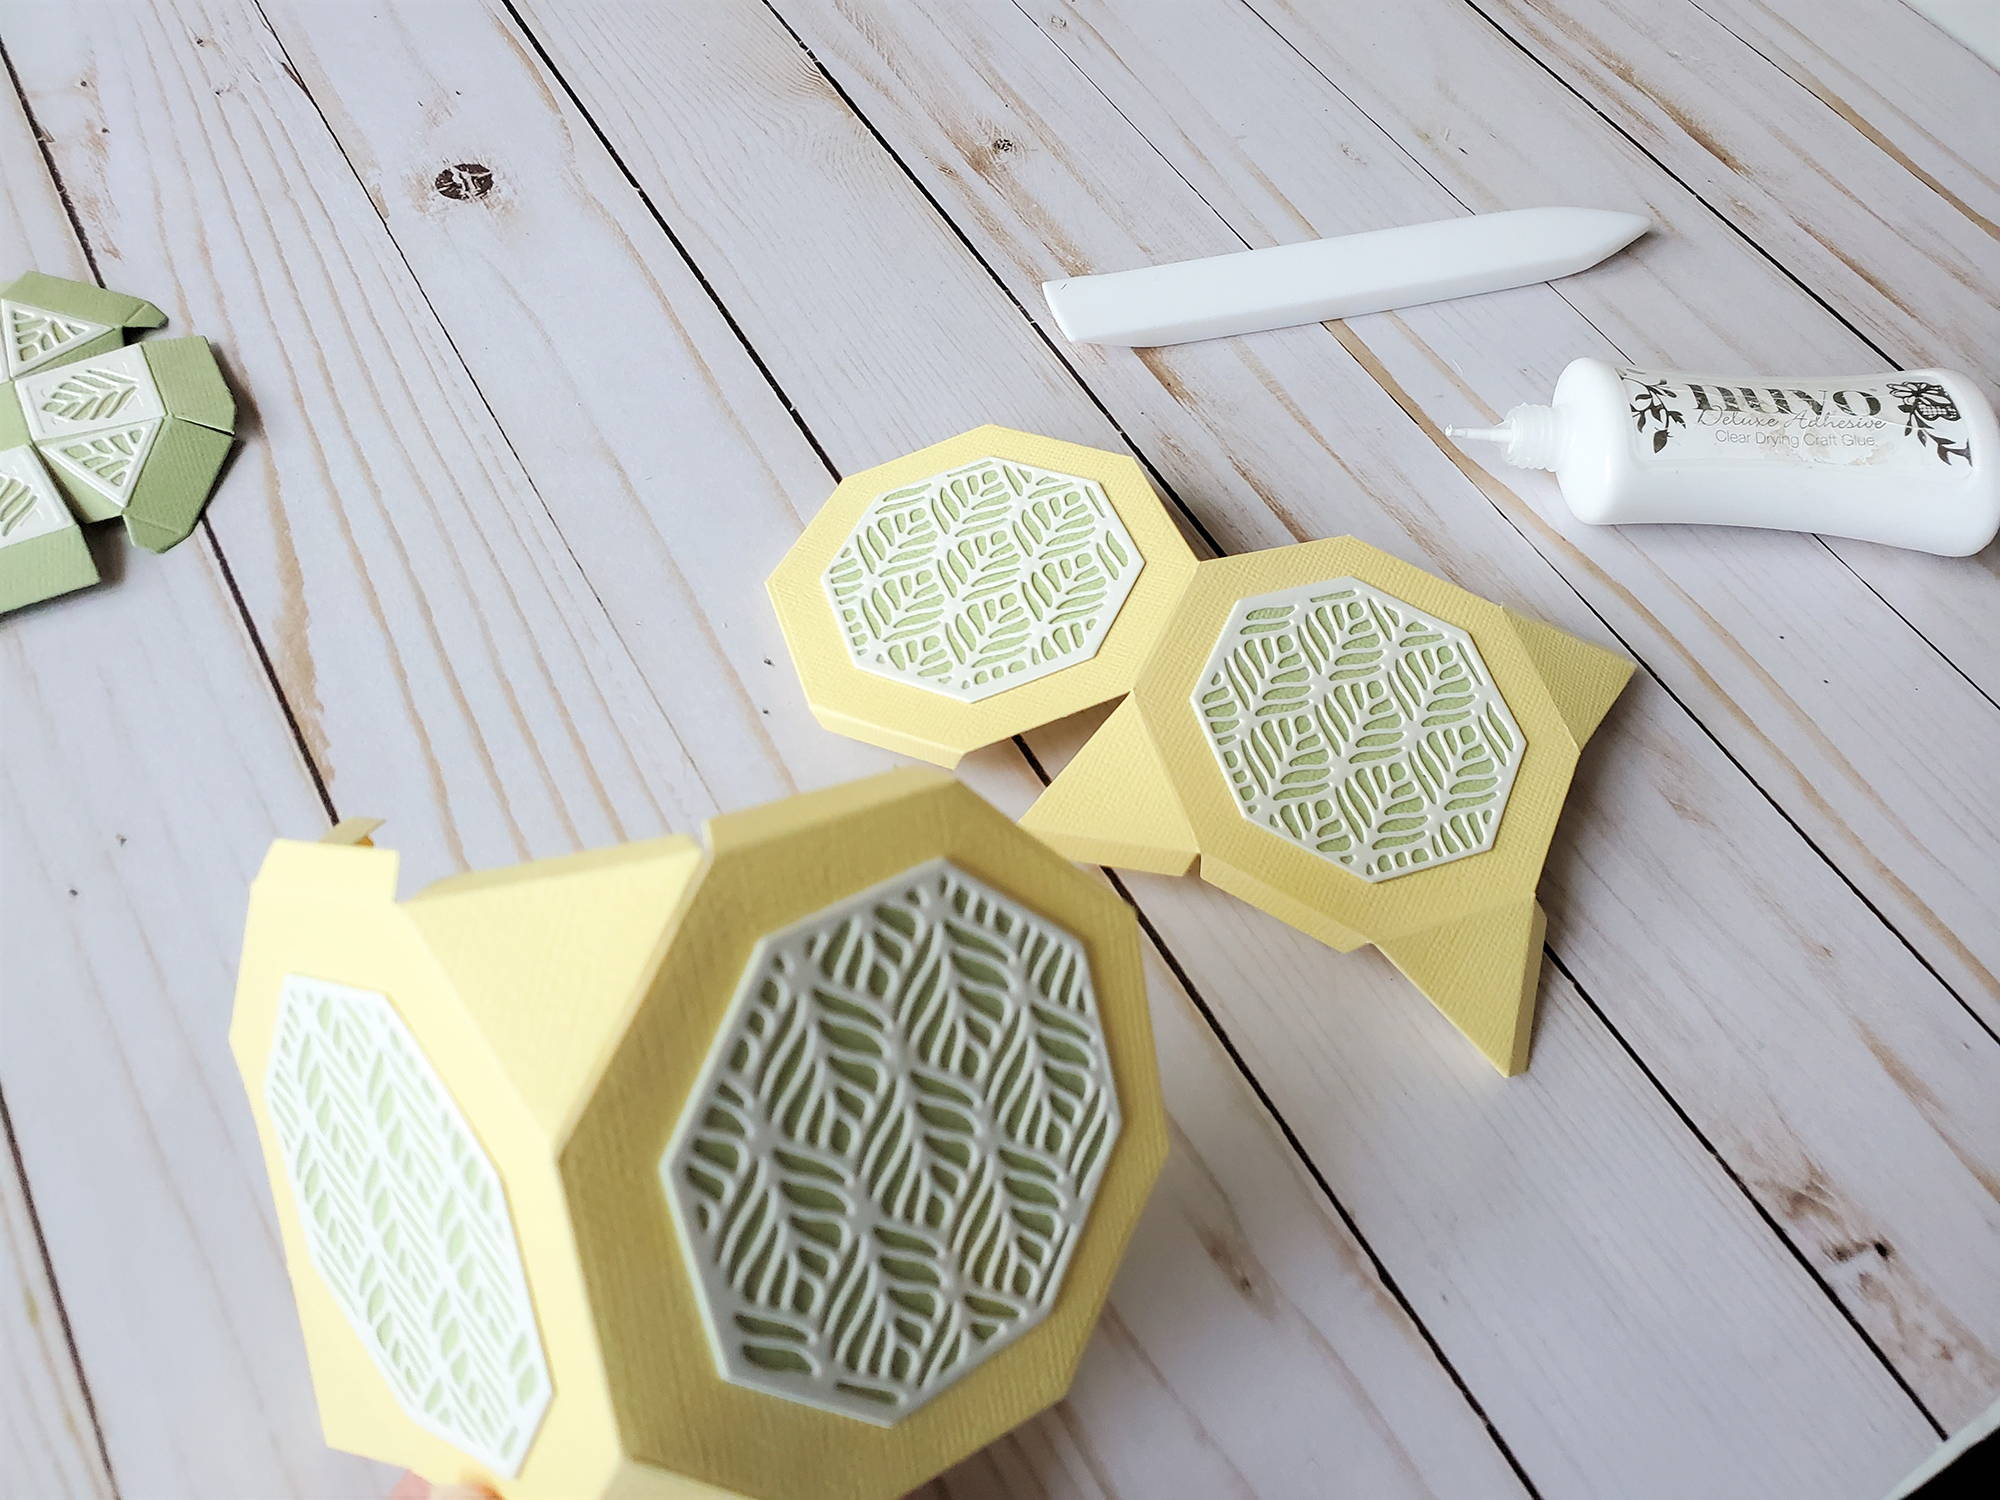
Burnish all scored edges on the main die pieces and begin folding in, gluing as you go.
Step 5
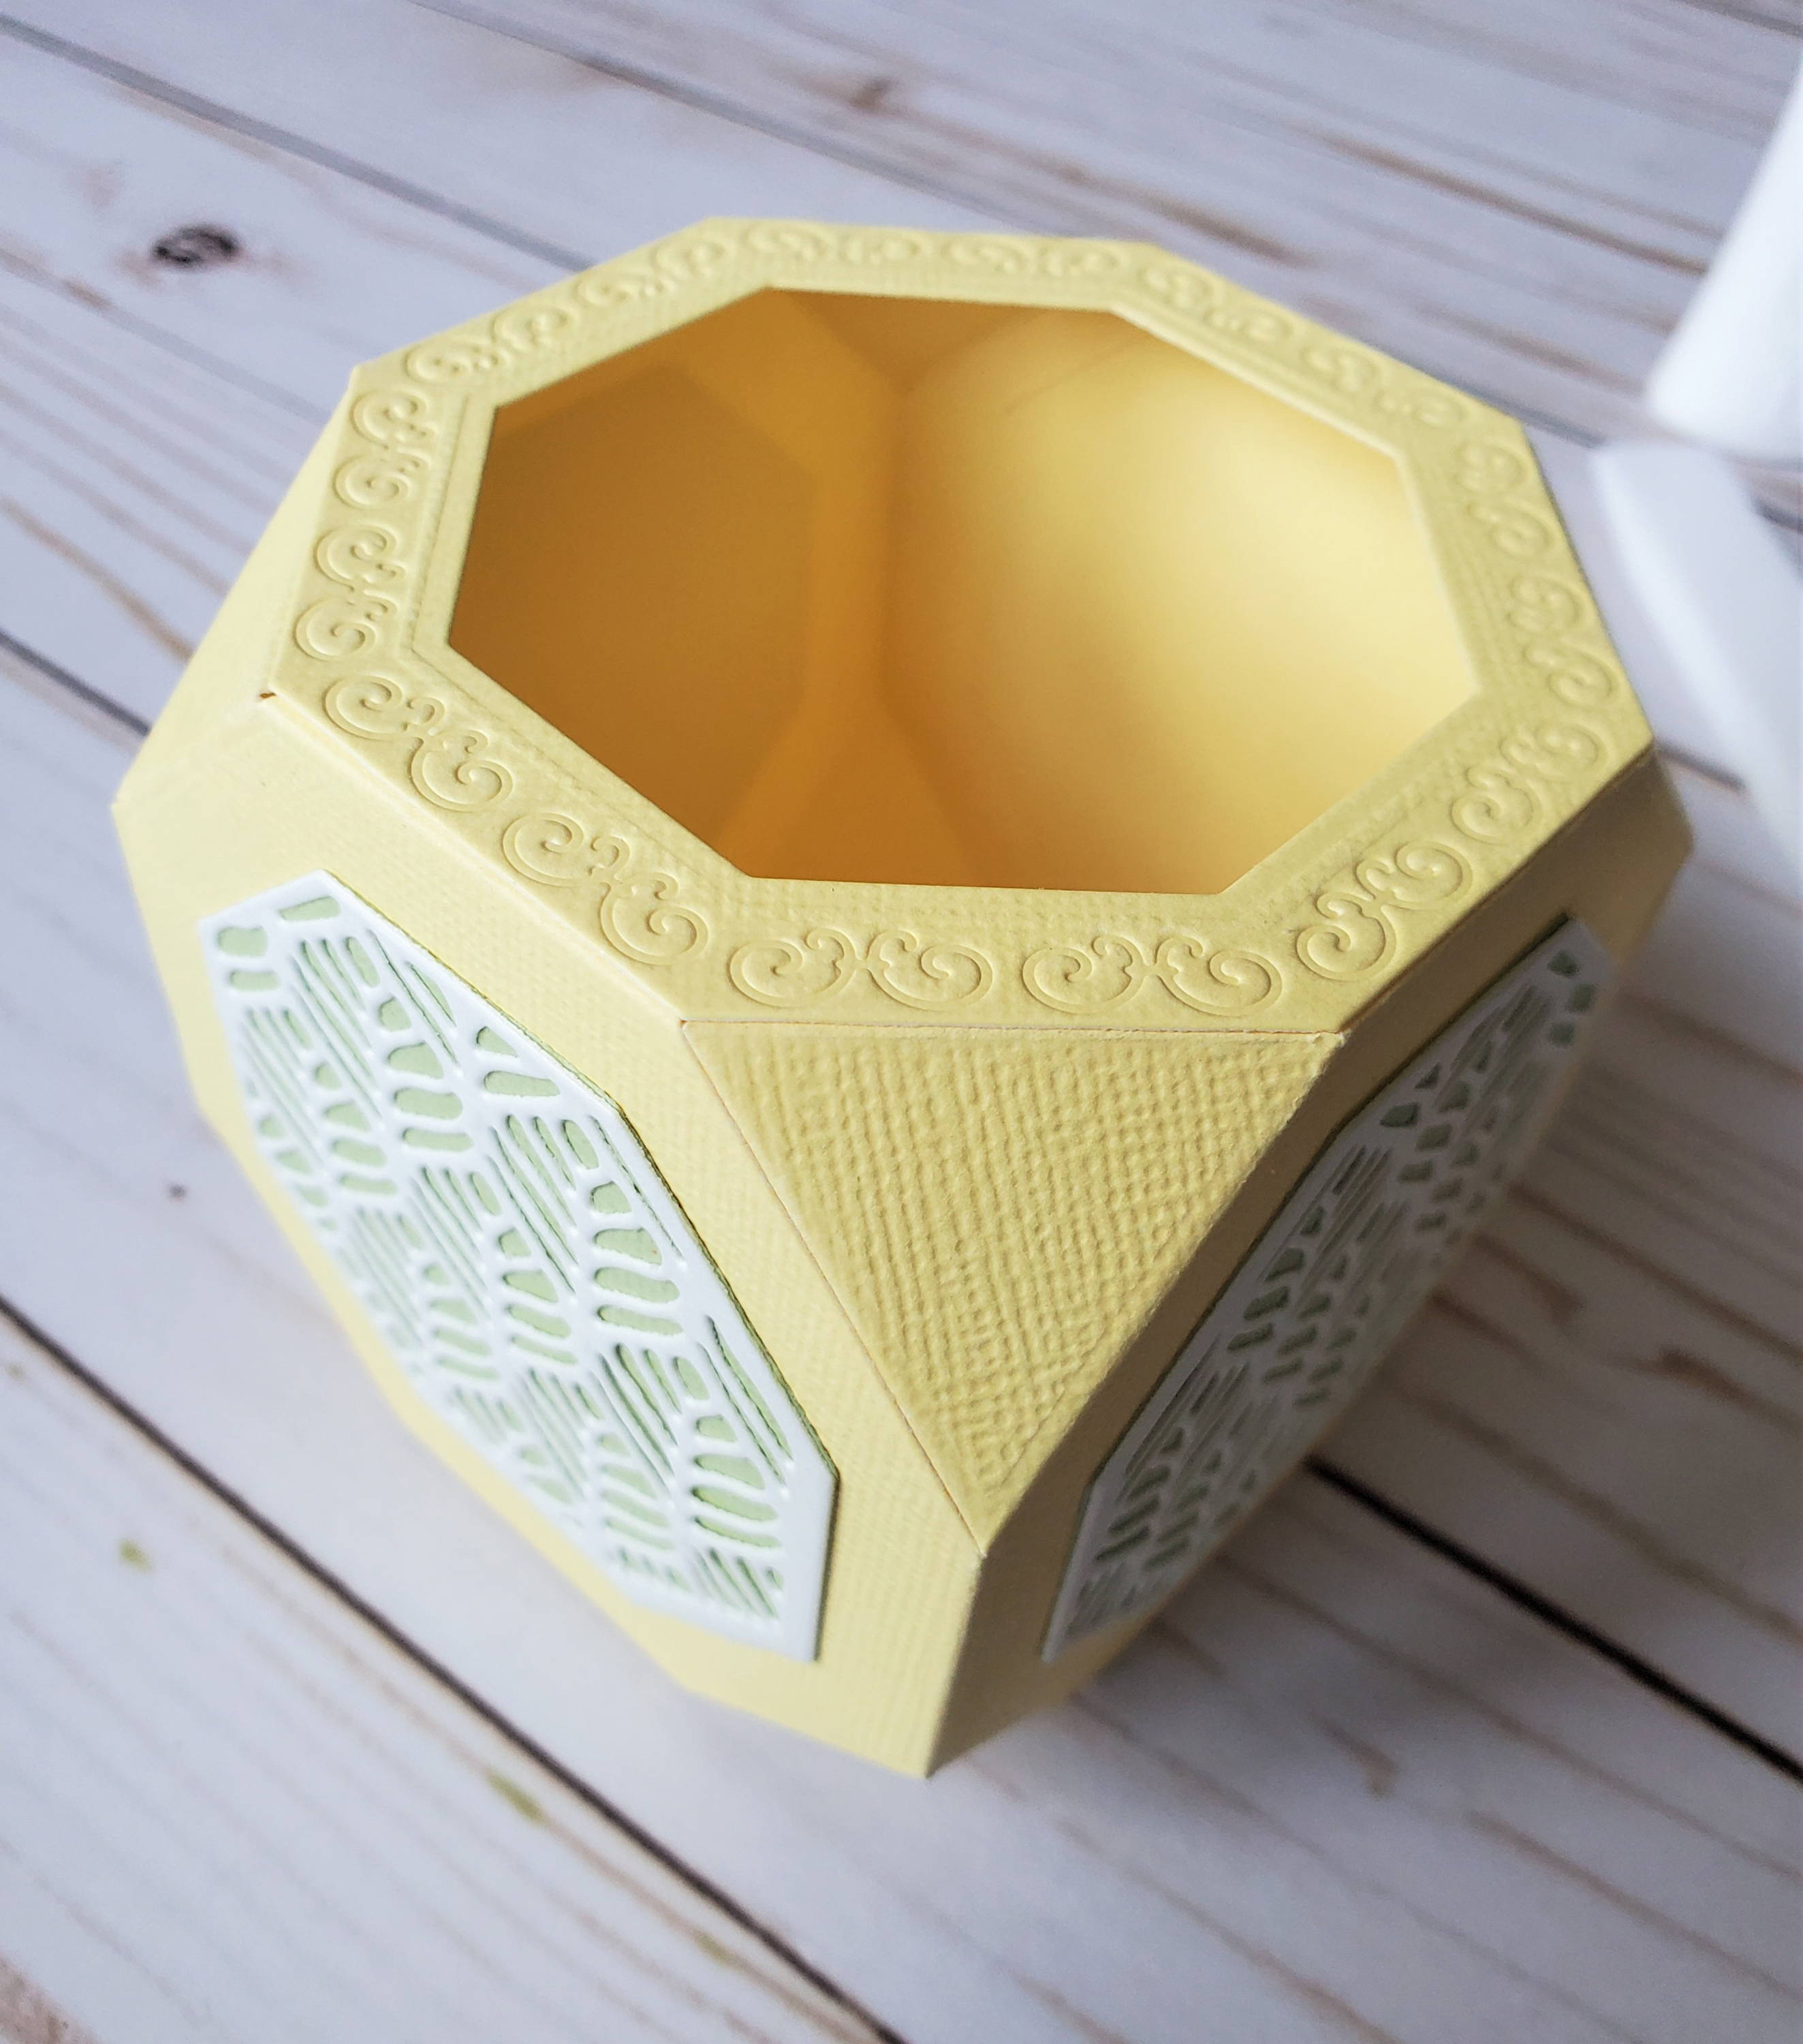
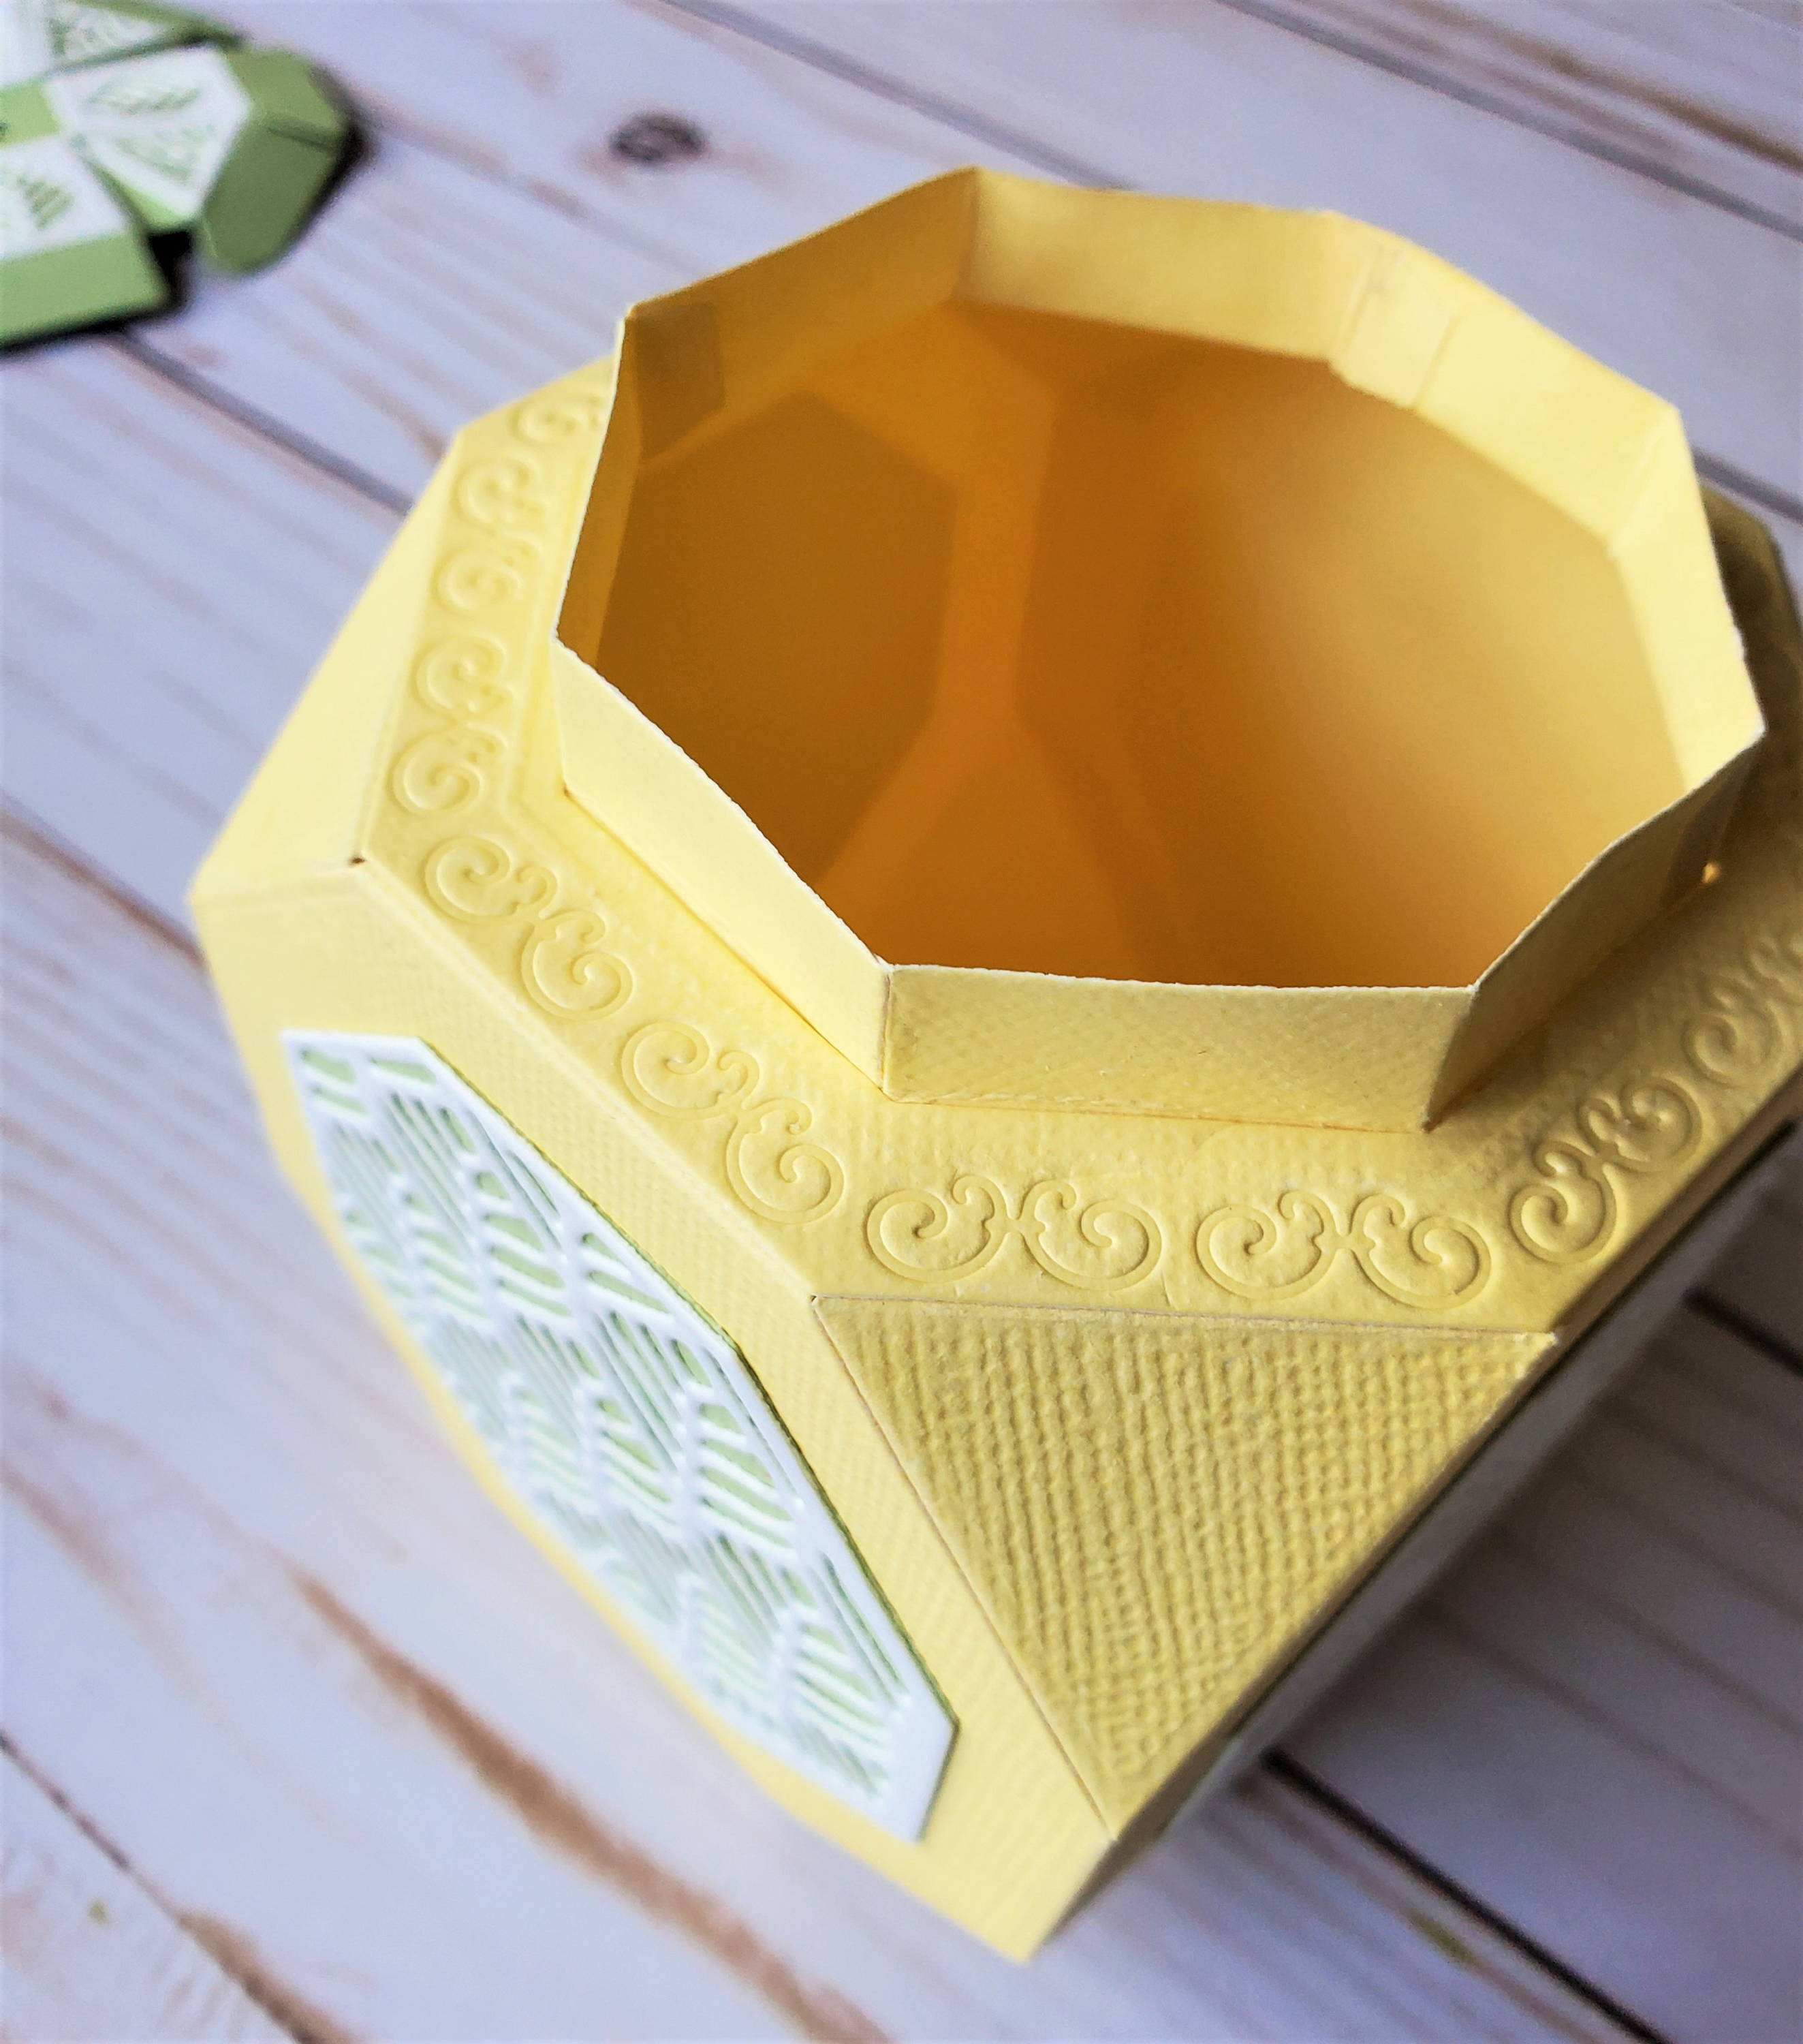


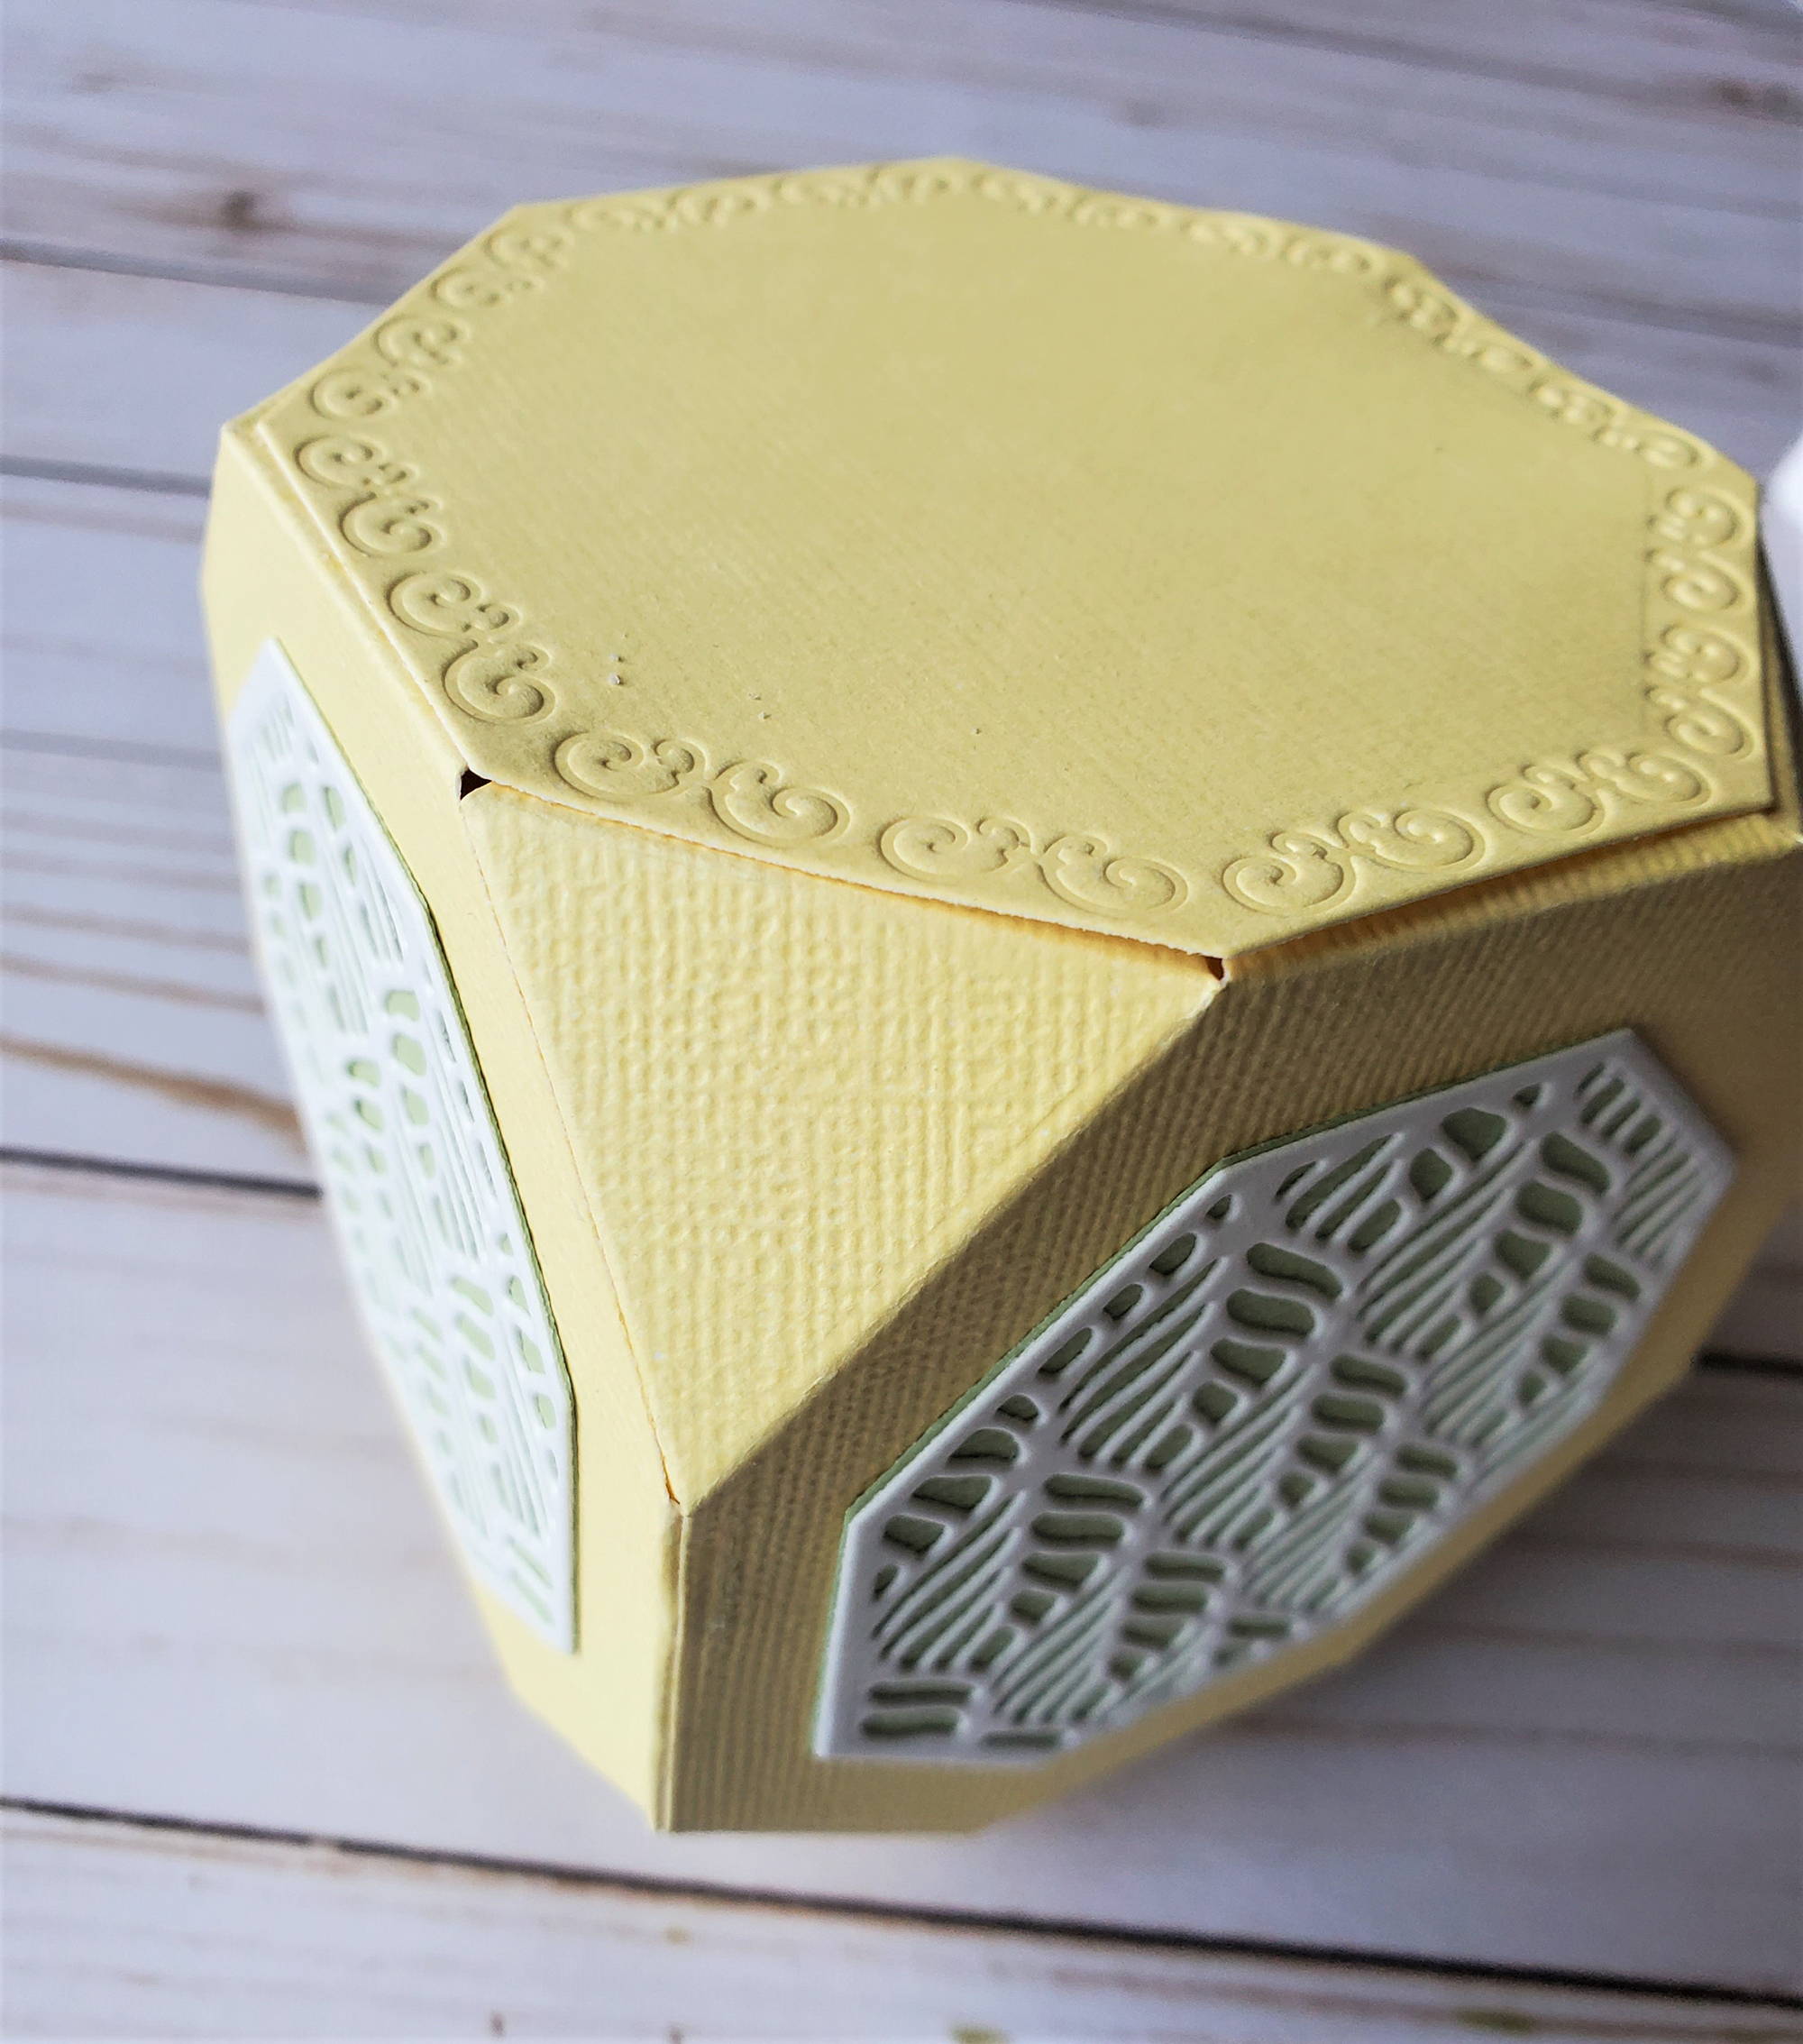
Glue the ring across the top tabs. Glue the lip piece flaps to the underside of that ring, one at a time, adhering each to the previous lip piece.
Glue the bottom piece in place.
Step 6
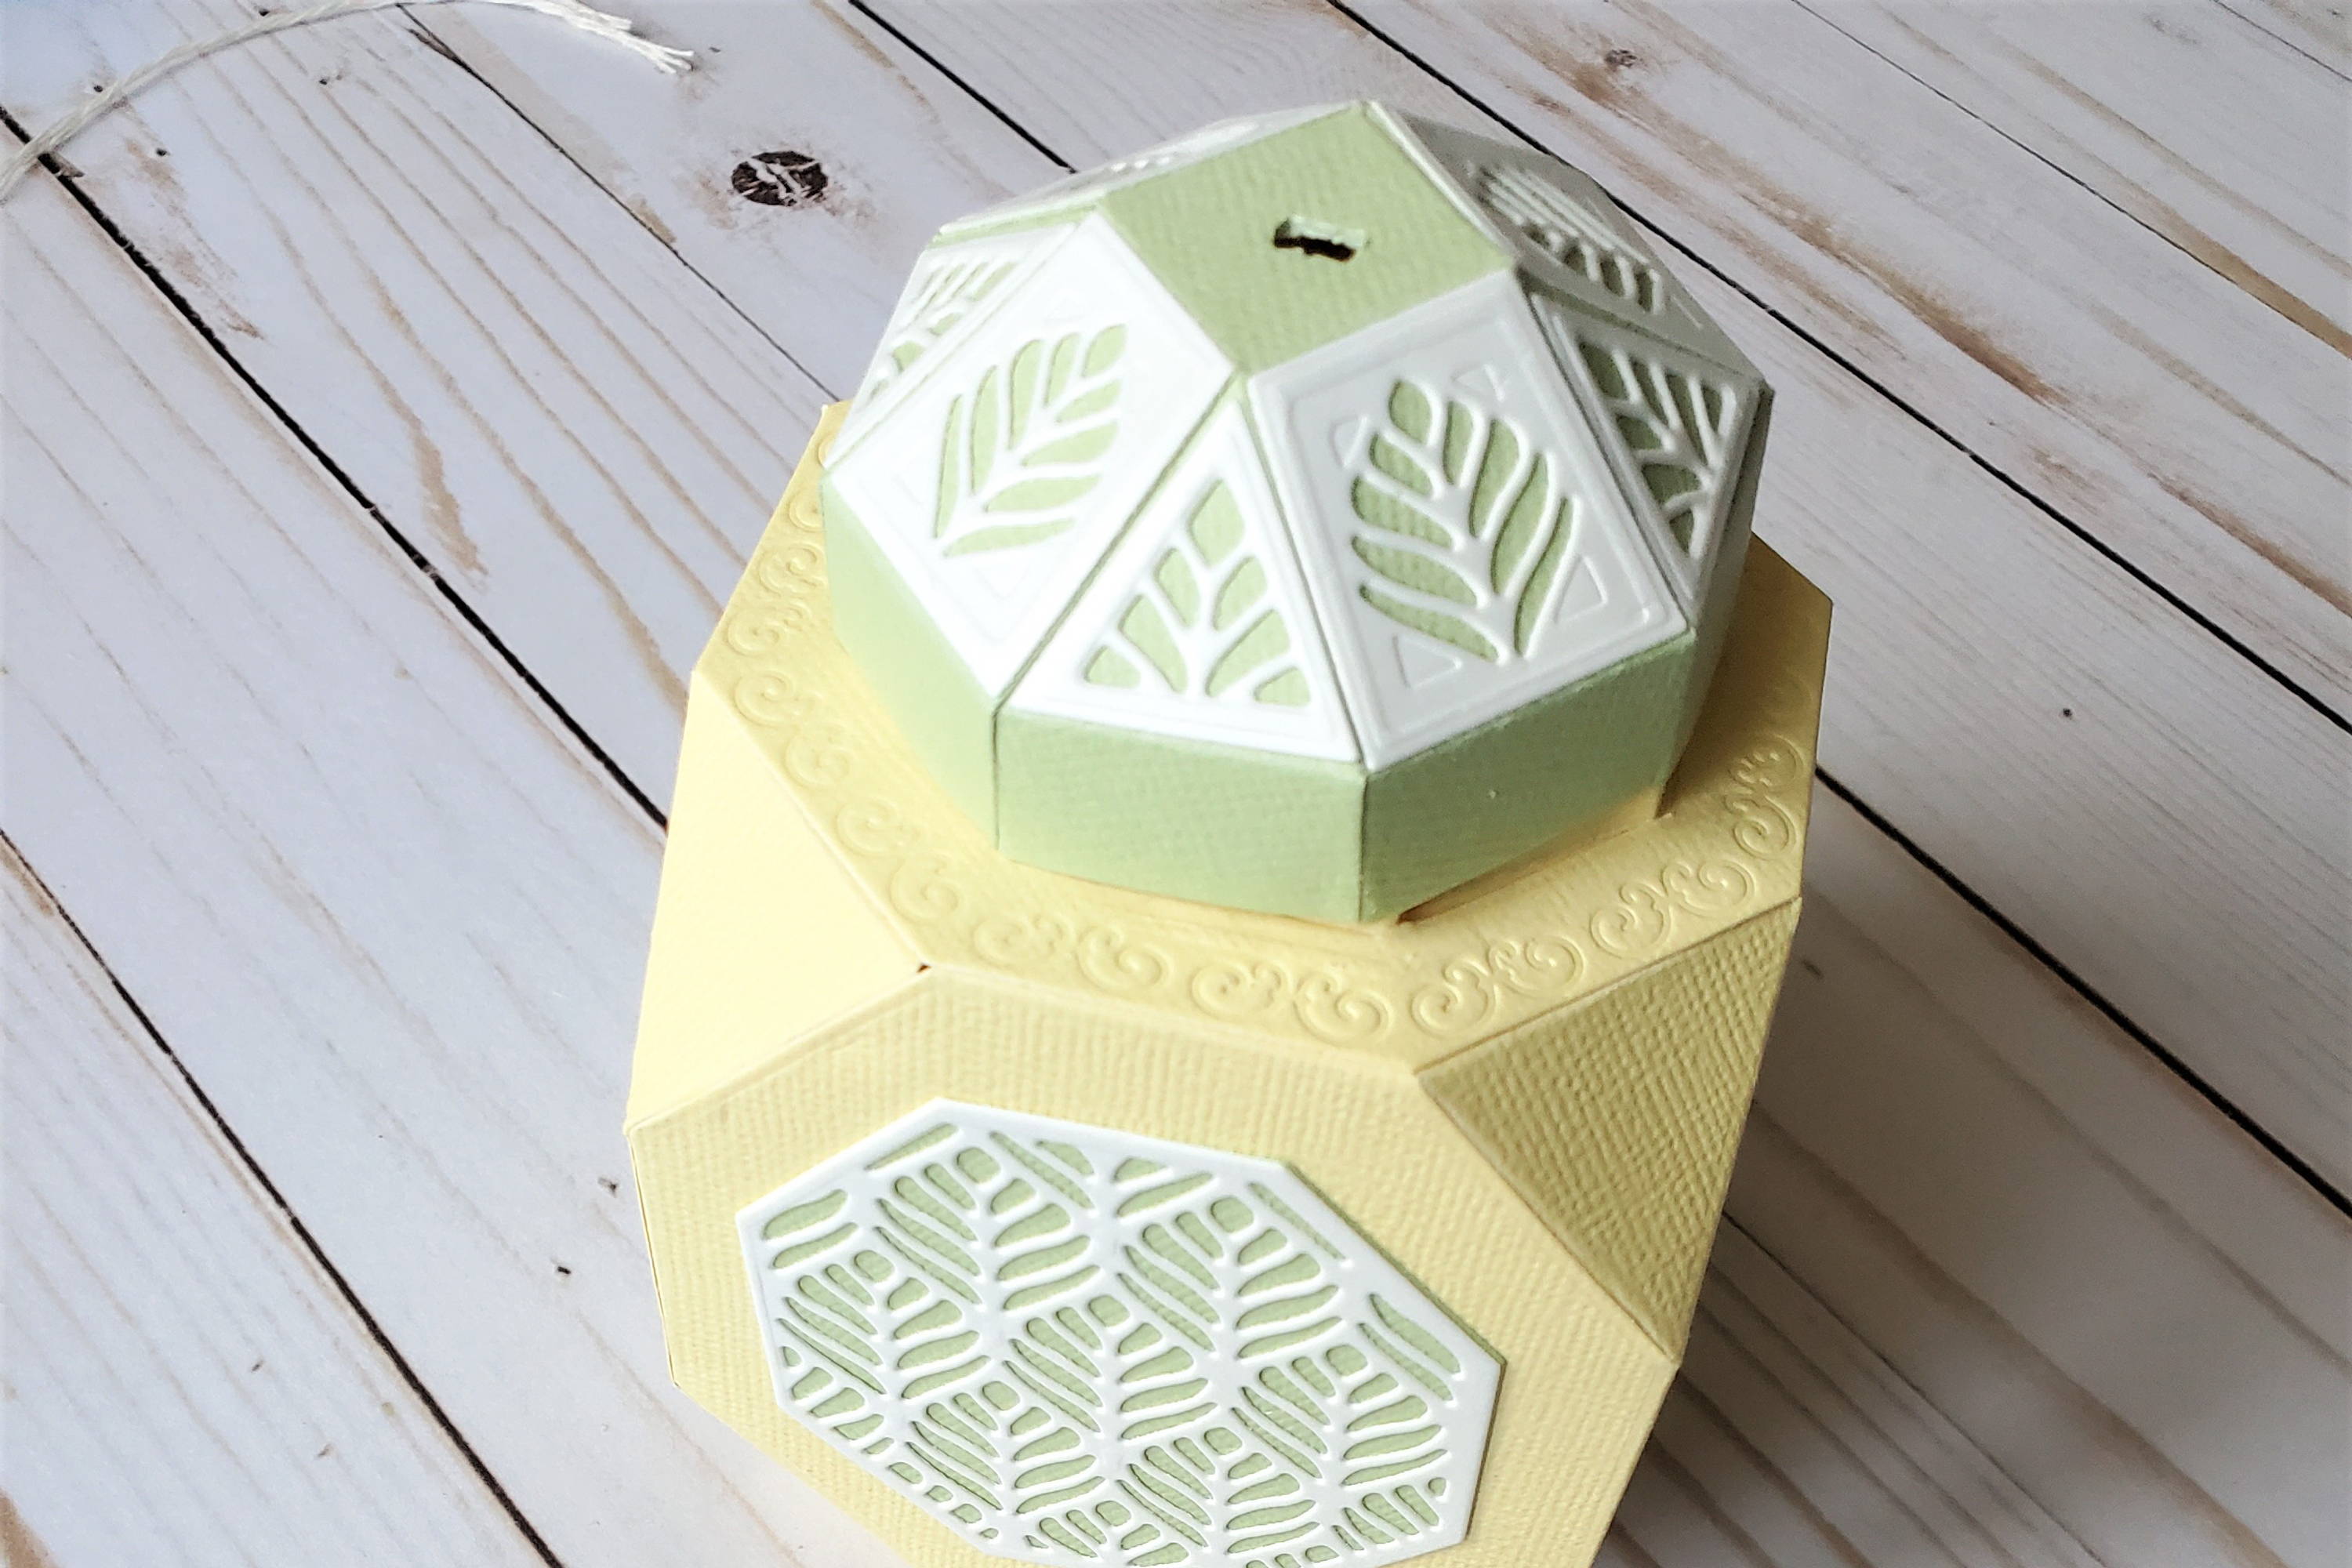
Using a hole punch, punch two holes side by side in the center of the lid top. This hole might need to be enlarged with a craft blade and made just large enough for the shank of a button to fit snuggly into it. Glue the lid flaps together.
Step 7
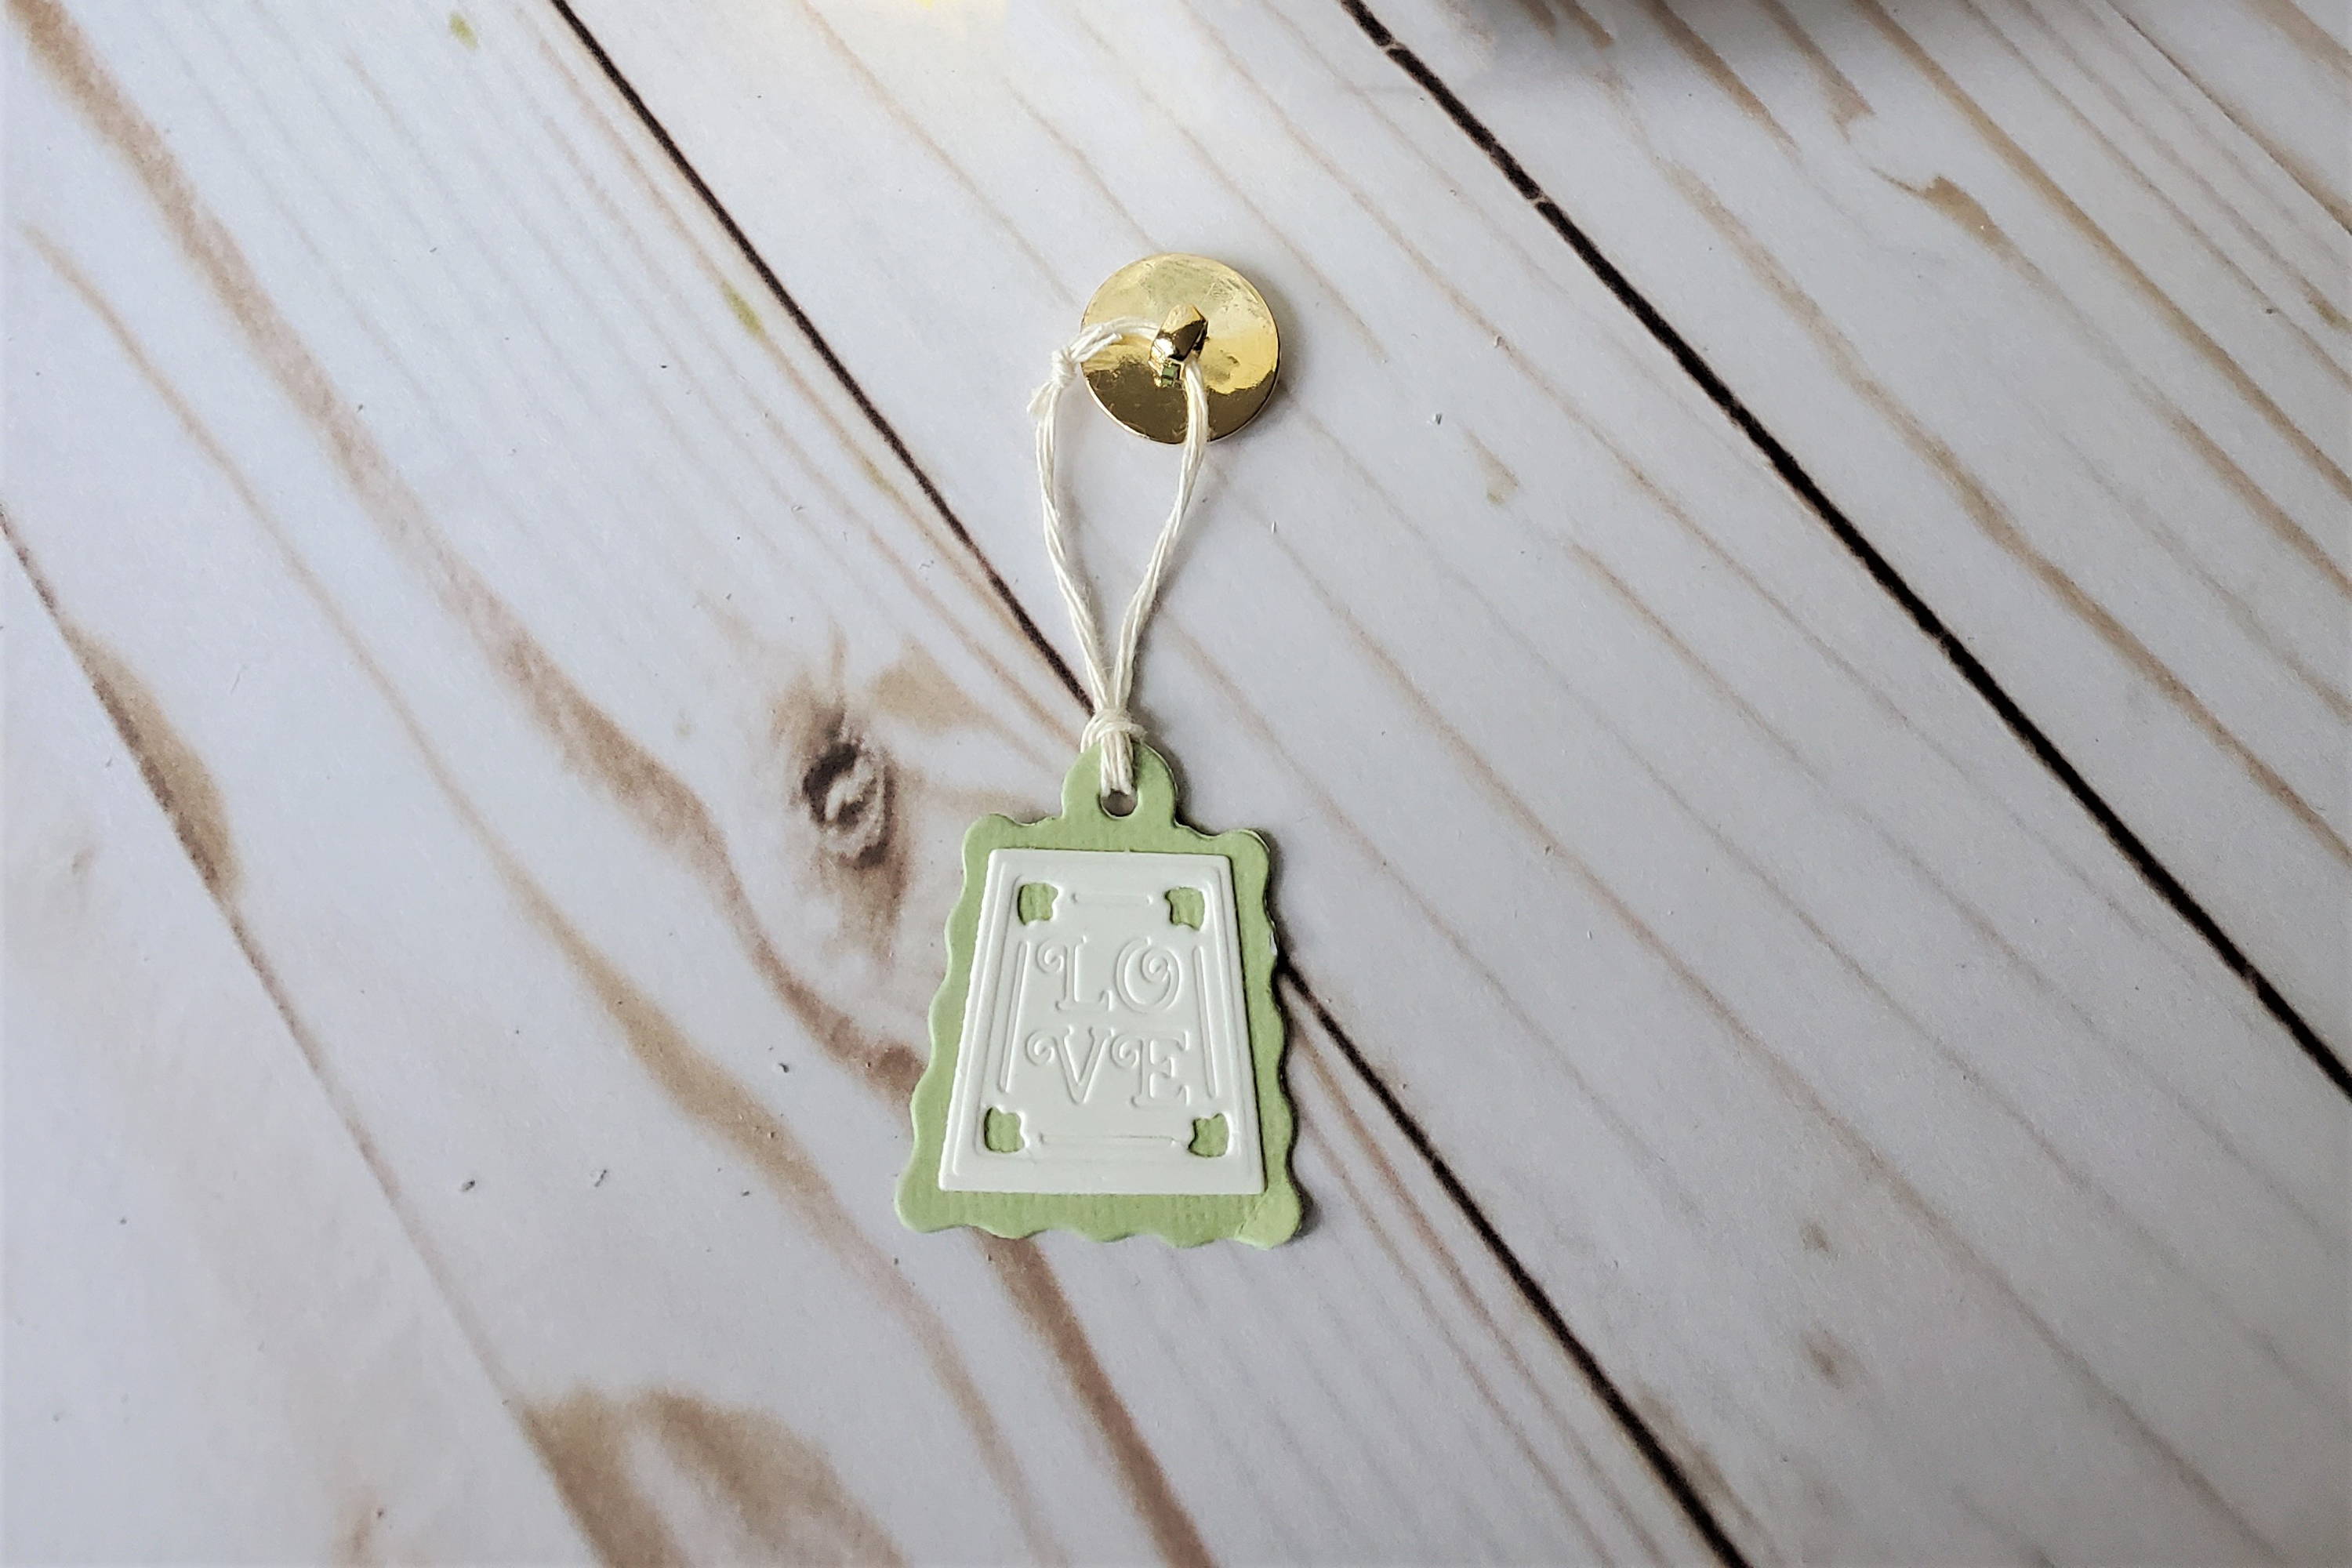
Cut one tag in Pistachio and one decorative section in Ivory. Glue together and attach baker’s twine to the tag and to the button shank. Add a drop of permanent glue to the shank of the button and push it into the hole in the top of the lid.
Step 8

Glue grosgrain ribbon across the base of the jar lid.
Buy The Craft Project


