
Hello crafty friends,
I am Aya & I am so happy to share with you my first blog post for Tonic.
Today's projects are super cute and just looking at these adorable monsters, will make you smile :)


The first project I made is this card using the Little Monster stamp and coordinating die set. This set is great for birthday cards, especially for anyone who likes "Monster Inc Movie"
I used nesting dies to feature a cozy home for the little monsters. I Cut and layer a few of them in different colored cardstock to add depth to my Card. Moreover, to create a dynamic layered scene.
* Those cute monsters were stamped on smooth white cardstock with Jet Black Ink and colored in with the Copic Markers. The images were die cut and adhered to the scene as shown.
* The star stencil was stenciled with Tim Holtz Opaque Grit Paste for a textured background. I added a tonic clear glaze on the monster for added interest to their body. I finished the card by applying wiggle eyes to the stamped and die-cut monsters.


The first project I made is this card using the Little Monster stamp and coordinating die set. This set is great for birthday cards, especially for anyone who likes "Monster Inc Movie"
I used nesting dies to feature a cozy home for the little monsters. I Cut and layer a few of them in different colored cardstock to add depth to my Card. Moreover, to create a dynamic layered scene.

* Those cute monsters were stamped on smooth white cardstock with Jet Black Ink and colored in with the Copic Markers. The images were die cut and adhered to the scene as shown.
* The star stencil was stenciled with Tim Holtz Opaque Grit Paste for a textured background. I added a tonic clear glaze on the monster for added interest to their body. I finished the card by applying wiggle eyes to the stamped and die-cut monsters.


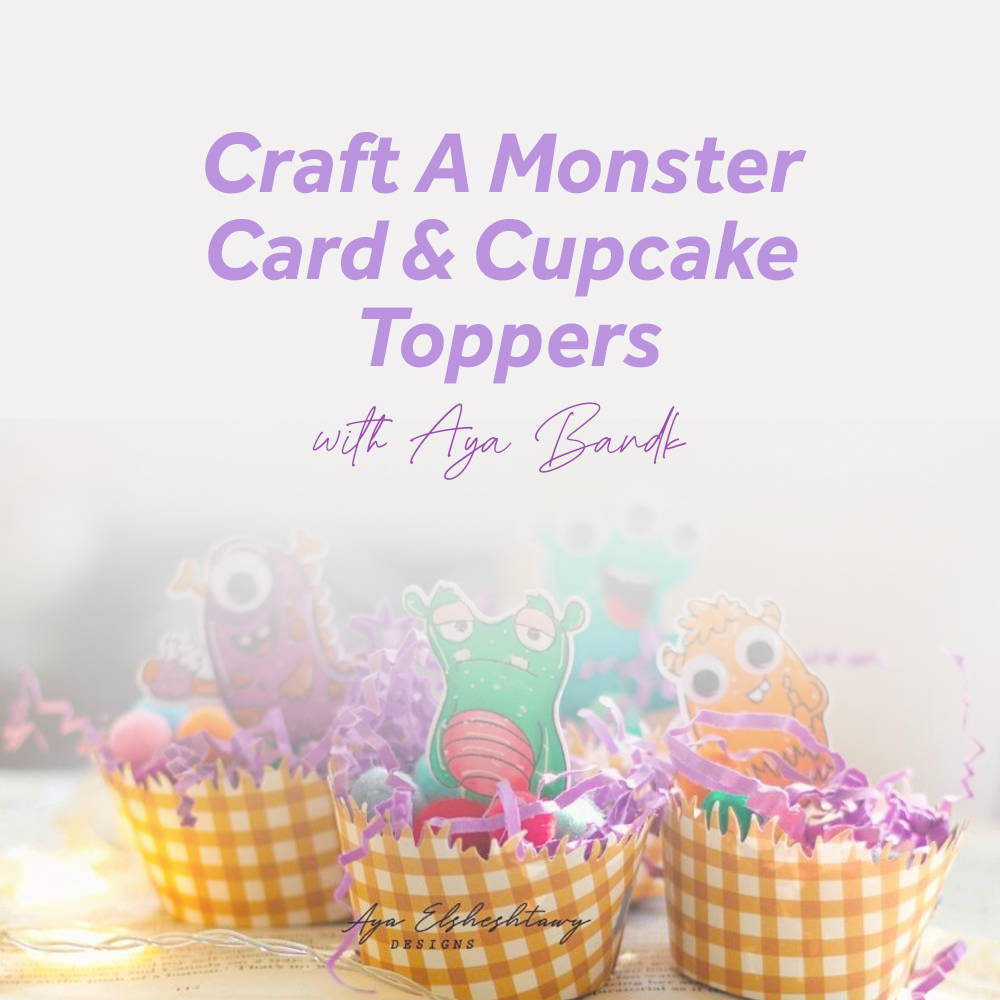
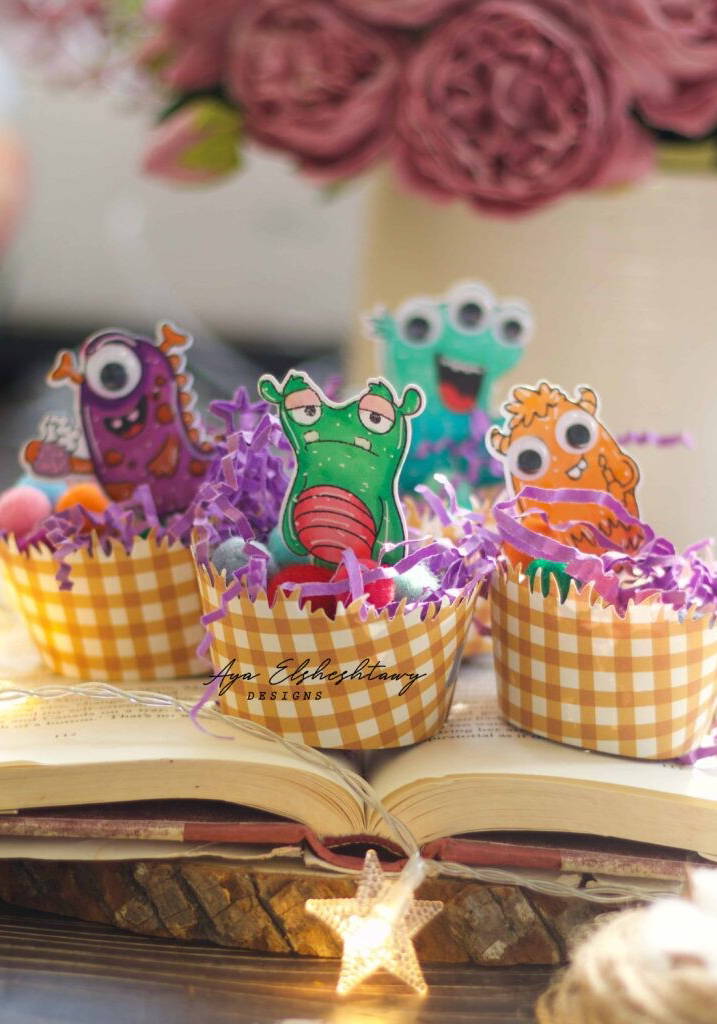
For the second project, I created these adorable treats and cupcake wrappers as treats for my kids.
First, I made some cupcake toppers by stamping and coloring the little monsters. These monsters will be the cupcake toppers.
For the second project, I created these adorable treats and cupcake wrappers as treats for my kids.
For the second project, I created these adorable treats and cupcake wrappers as treats for my kids.
First, I made some cupcake toppers by stamping and coloring the little monsters. These monsters will be the cupcake toppers.

For the second project, I created these adorable treats and cupcake wrappers as treats for my kids.
First, I made some cupcake toppers by stamping and coloring the little monsters. These monsters will be the cupcake toppers.
For the second project, I created these adorable treats and cupcake wrappers as treats for my kids.
First, I made some cupcake toppers by stamping and coloring the little monsters. These monsters will be the cupcake toppers.

First, I made some cupcake toppers by stamping and coloring the little monsters. These monsters will be the cupcake toppers.
Then I die cut Cupcake Wrappers and I put inside them pompoms and chocolates. You can use an electronic machine to cut cupcake wrappers if you do not have the die or simply buy ready-made ones.
Let me tell you that my kids went crazy over these monster treats. Do you see any chocolate left :D?


For the second project, I created these adorable treats and cupcake wrappers as treats for my kids.
First, I made some cupcake toppers by stamping and coloring the little monsters. These monsters will be the cupcake toppers.
For the second project, I created these adorable treats and cupcake wrappers as treats for my kids.
For the second project, I created these adorable treats and cupcake wrappers as treats for my kids.

First, I made some cupcake toppers by stamping and coloring the little monsters. These monsters will be the cupcake toppers.

Then I die cut Cupcake Wrappers and I put inside them pompoms and chocolates. You can use an electronic machine to cut cupcake wrappers if you do not have the die or simply buy ready-made ones.
Let me tell you that my kids went crazy over these monster treats. Do you see any chocolate left :D?
Then I die cut Cupcake Wrappers and I put inside them pompoms and chocolates. You can use an electronic machine to cut cupcake wrappers if you do not have the die or simply buy ready-made ones.

Let me tell you that my kids went crazy over these monster treats. Do you see any chocolate left :D?


Thank you so much for stopping by, Please check marksymondsroofing for more inspiration from the design team.
Buy The Craft Project


